How to photograph the moon

Have you ever tried to take pictures of the moon with a smartphone or compact camera and got disappointing results? Here’s how to take crisp, detailed shots of the moon.
There are three reasons why smartphones and small compact cameras aren’t very good at taking moon shots.
- They have small sensors, so aren’t able to resolve much detail.
- You probably have no control over exposure.
- In most cases, the camera won’t have a long enough telephoto lens.
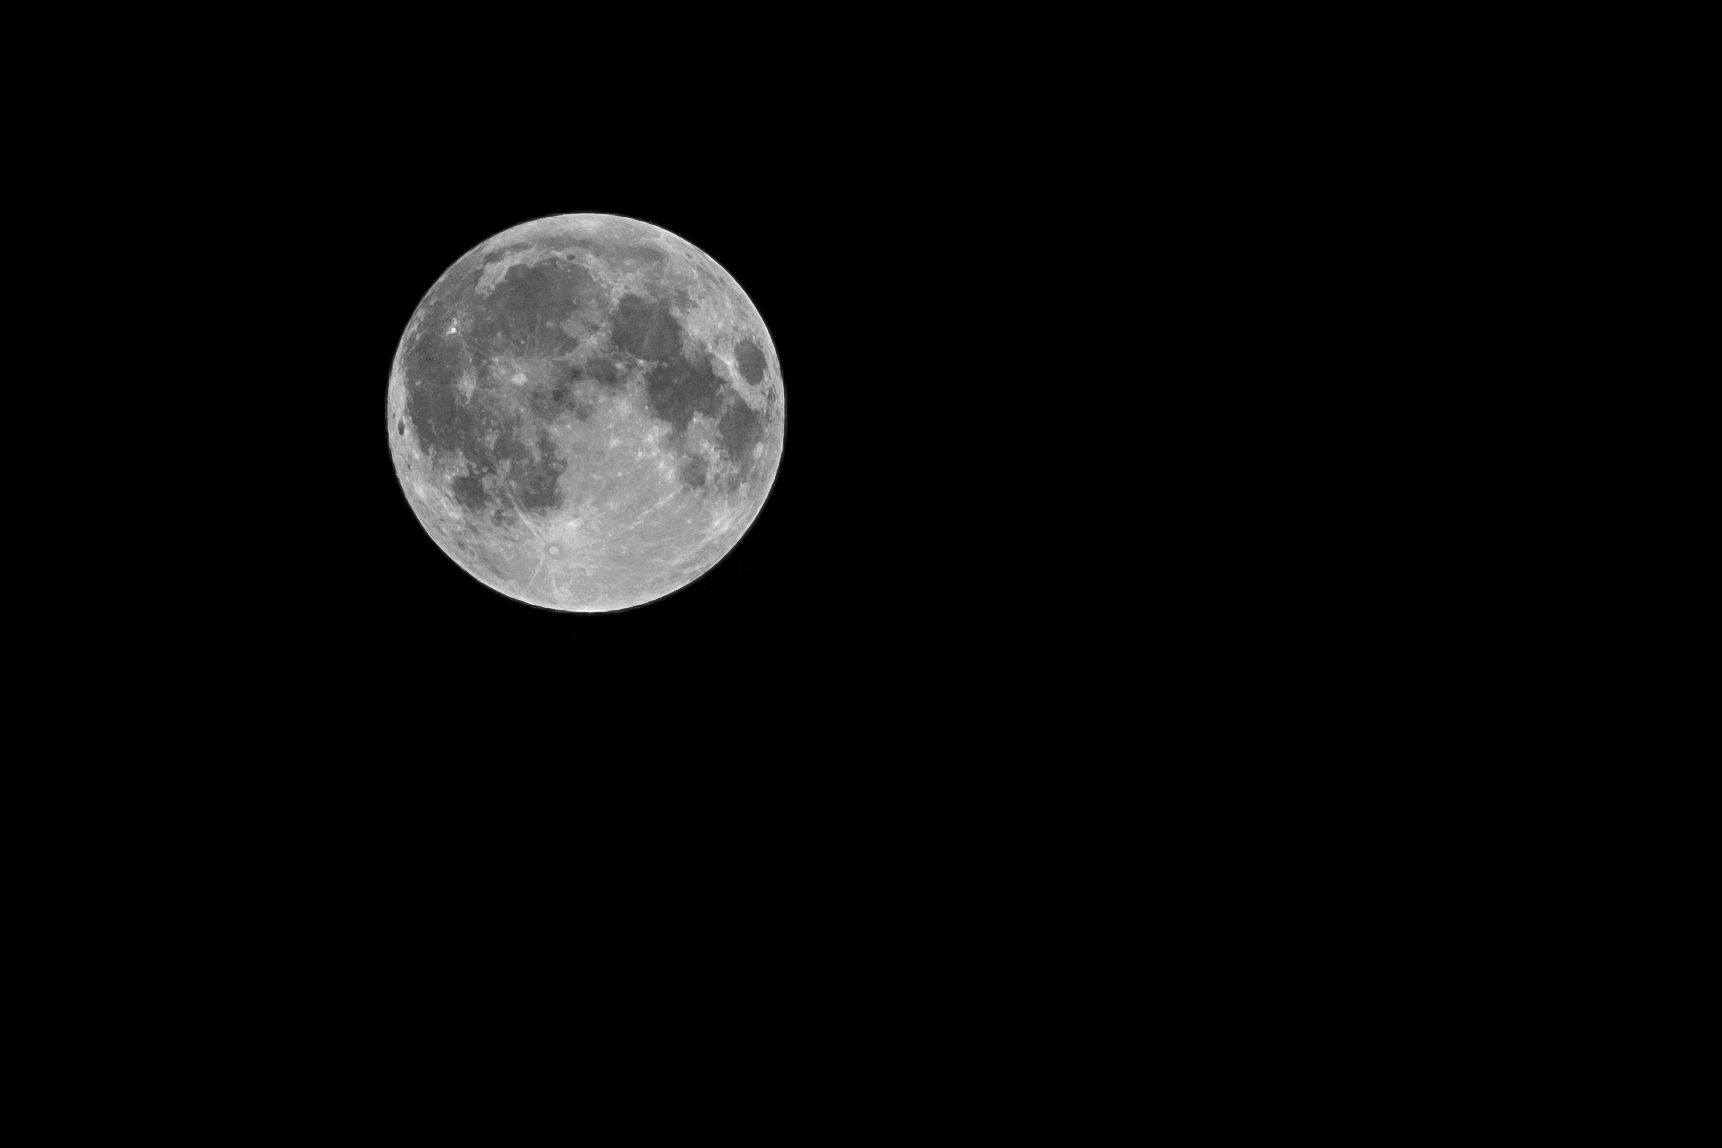
The net result is that, even if you steady it with a tripod, the best you can hope to achieve with a basic camera or smartphone is a distant, bright blob with no detail.
The ingredients of a successful moon photo
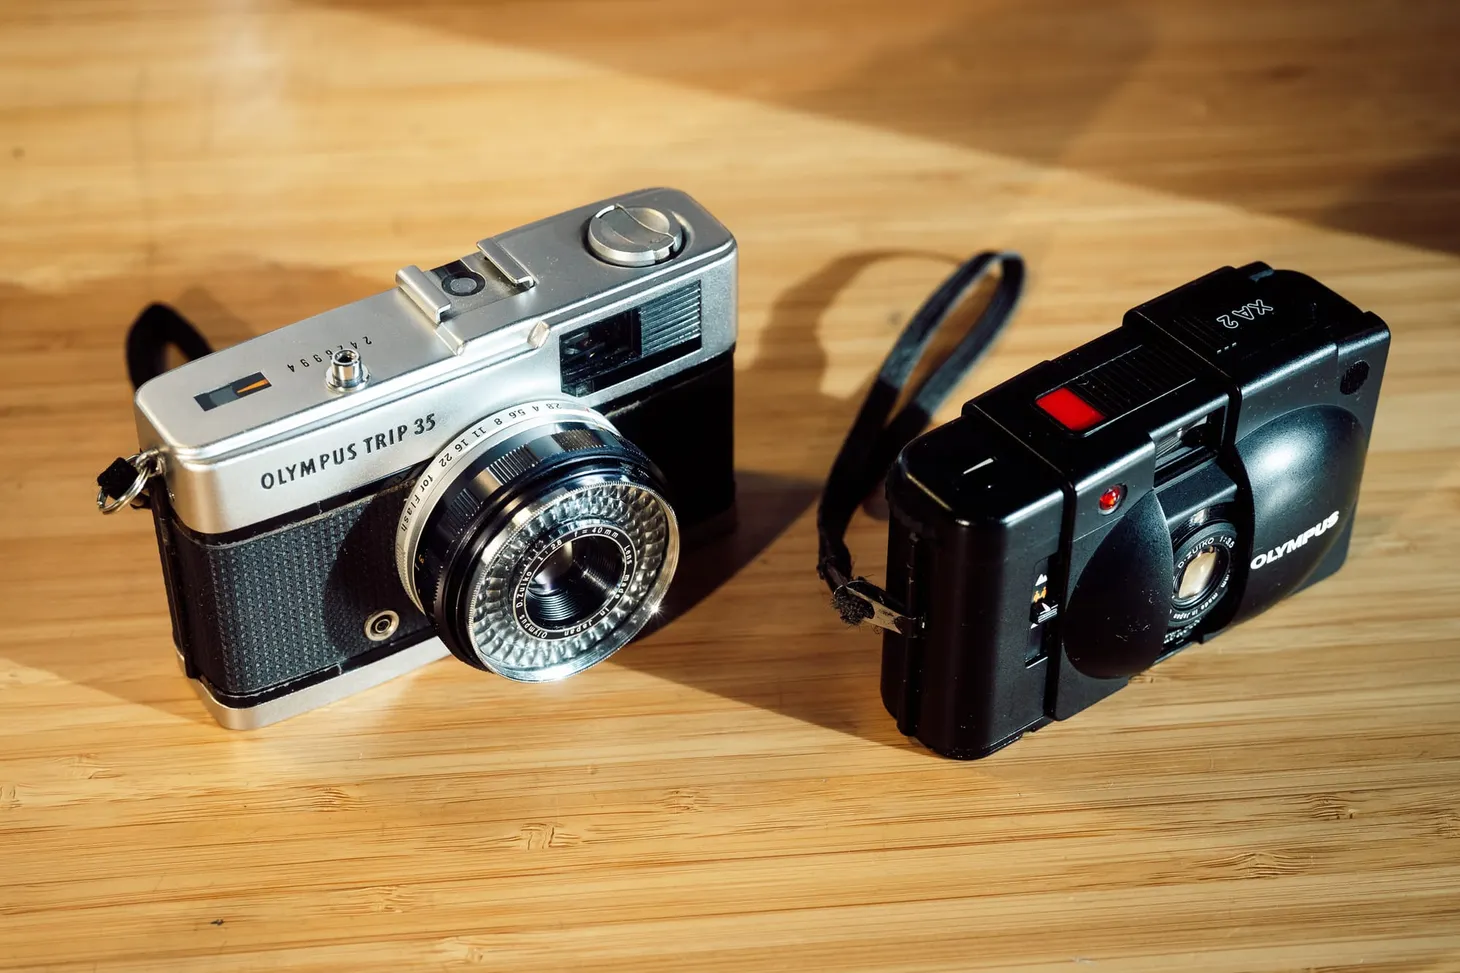
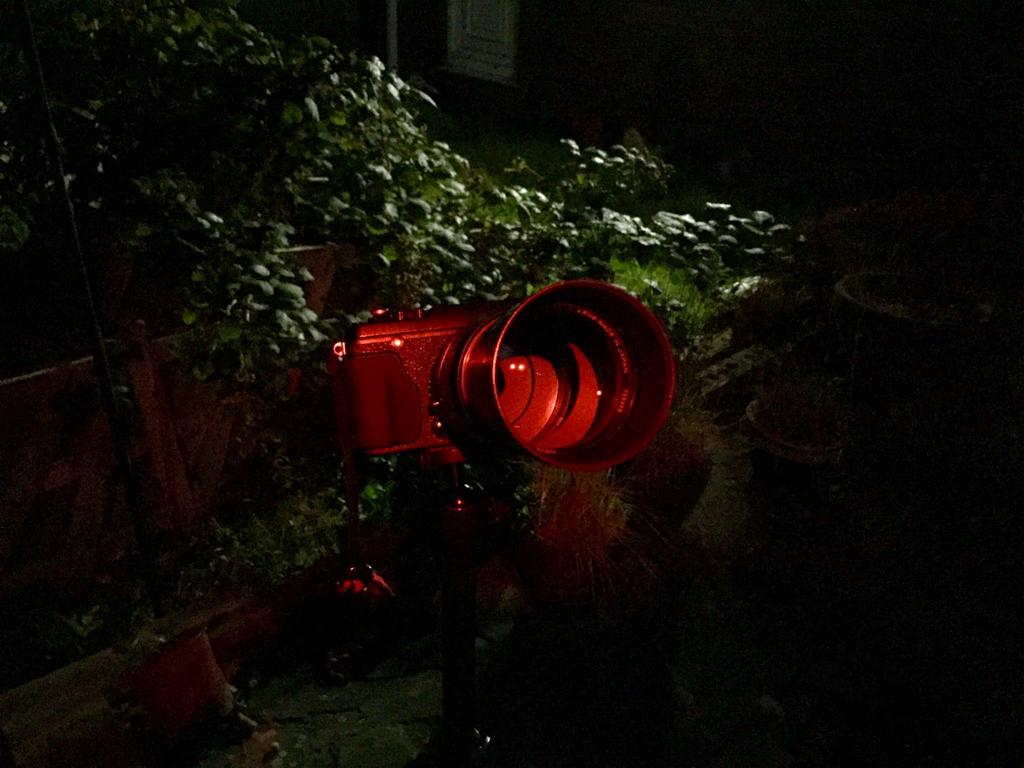
In order to take a large, crisp photo of the moon, you need a slightly more advanced camera. Any digital SLR or mirrorless camera with a long telephoto lens (at least 200mm in 35mm equivalent terms) will do the trick, but bridge cameras with fixed zoom lenses offering incredible levels of magnification are now available. While these cameras usually have smaller sensors than their DSLR cousins, and so won’t be capable of resolving as much detail, bridge cameras can produce good moon photos.
You will also need a tripod, and either a remote shutter release or a self-timer facility on your camera. Don’t forget outdoor gear – even if you’re taking the picture from your back garden, you’ll need a headtorch. Warm jacket, gloves, and a backpack to put it all in will be welcome if you’re venturing elsewhere.
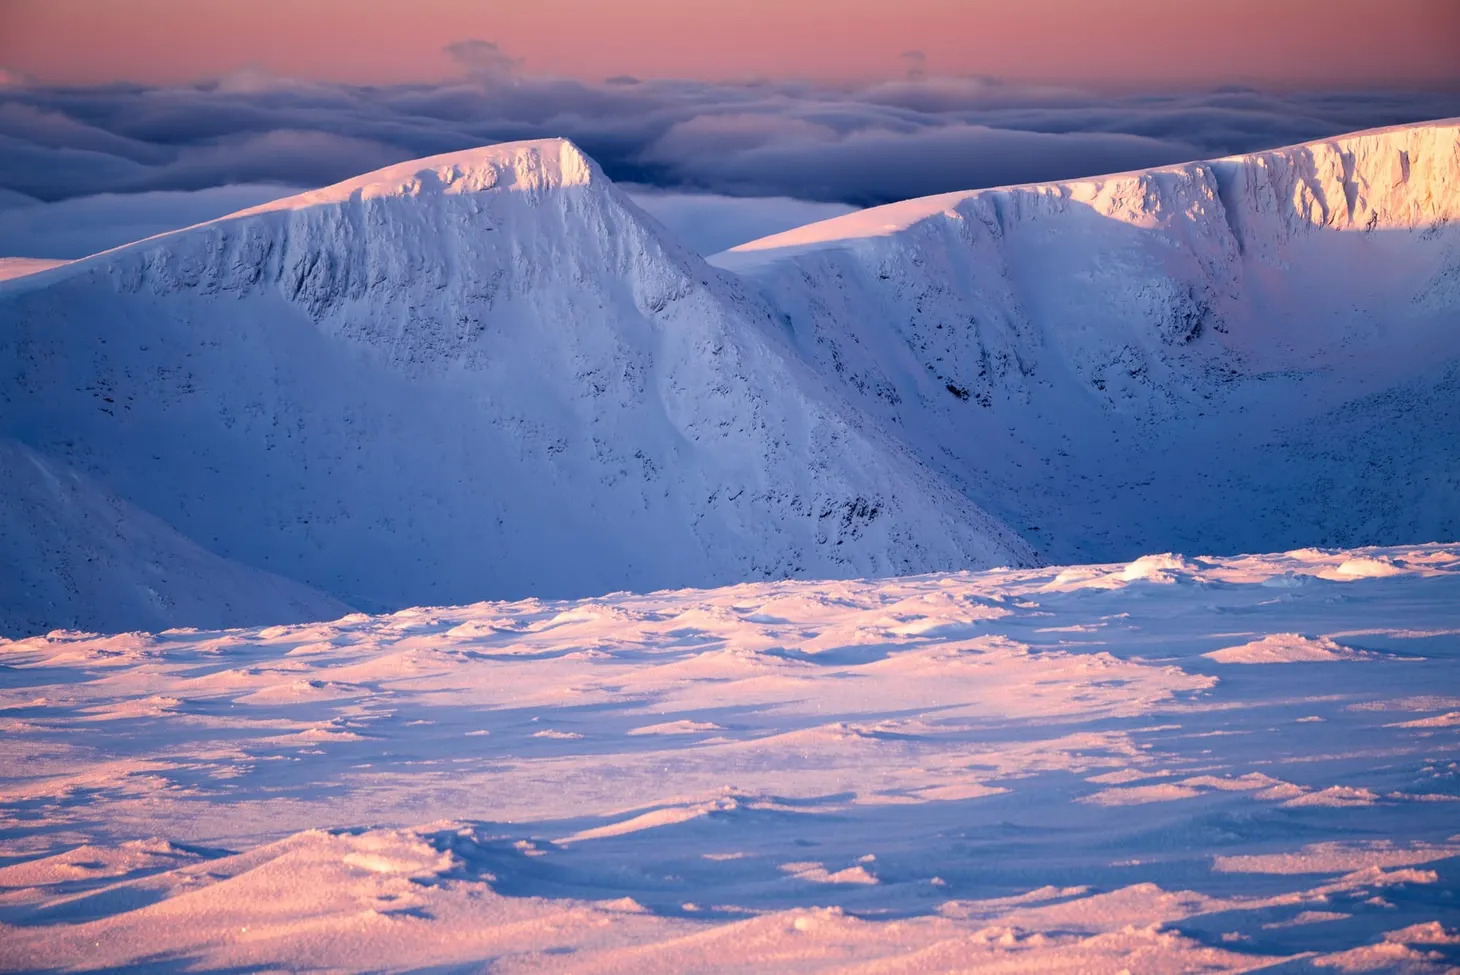
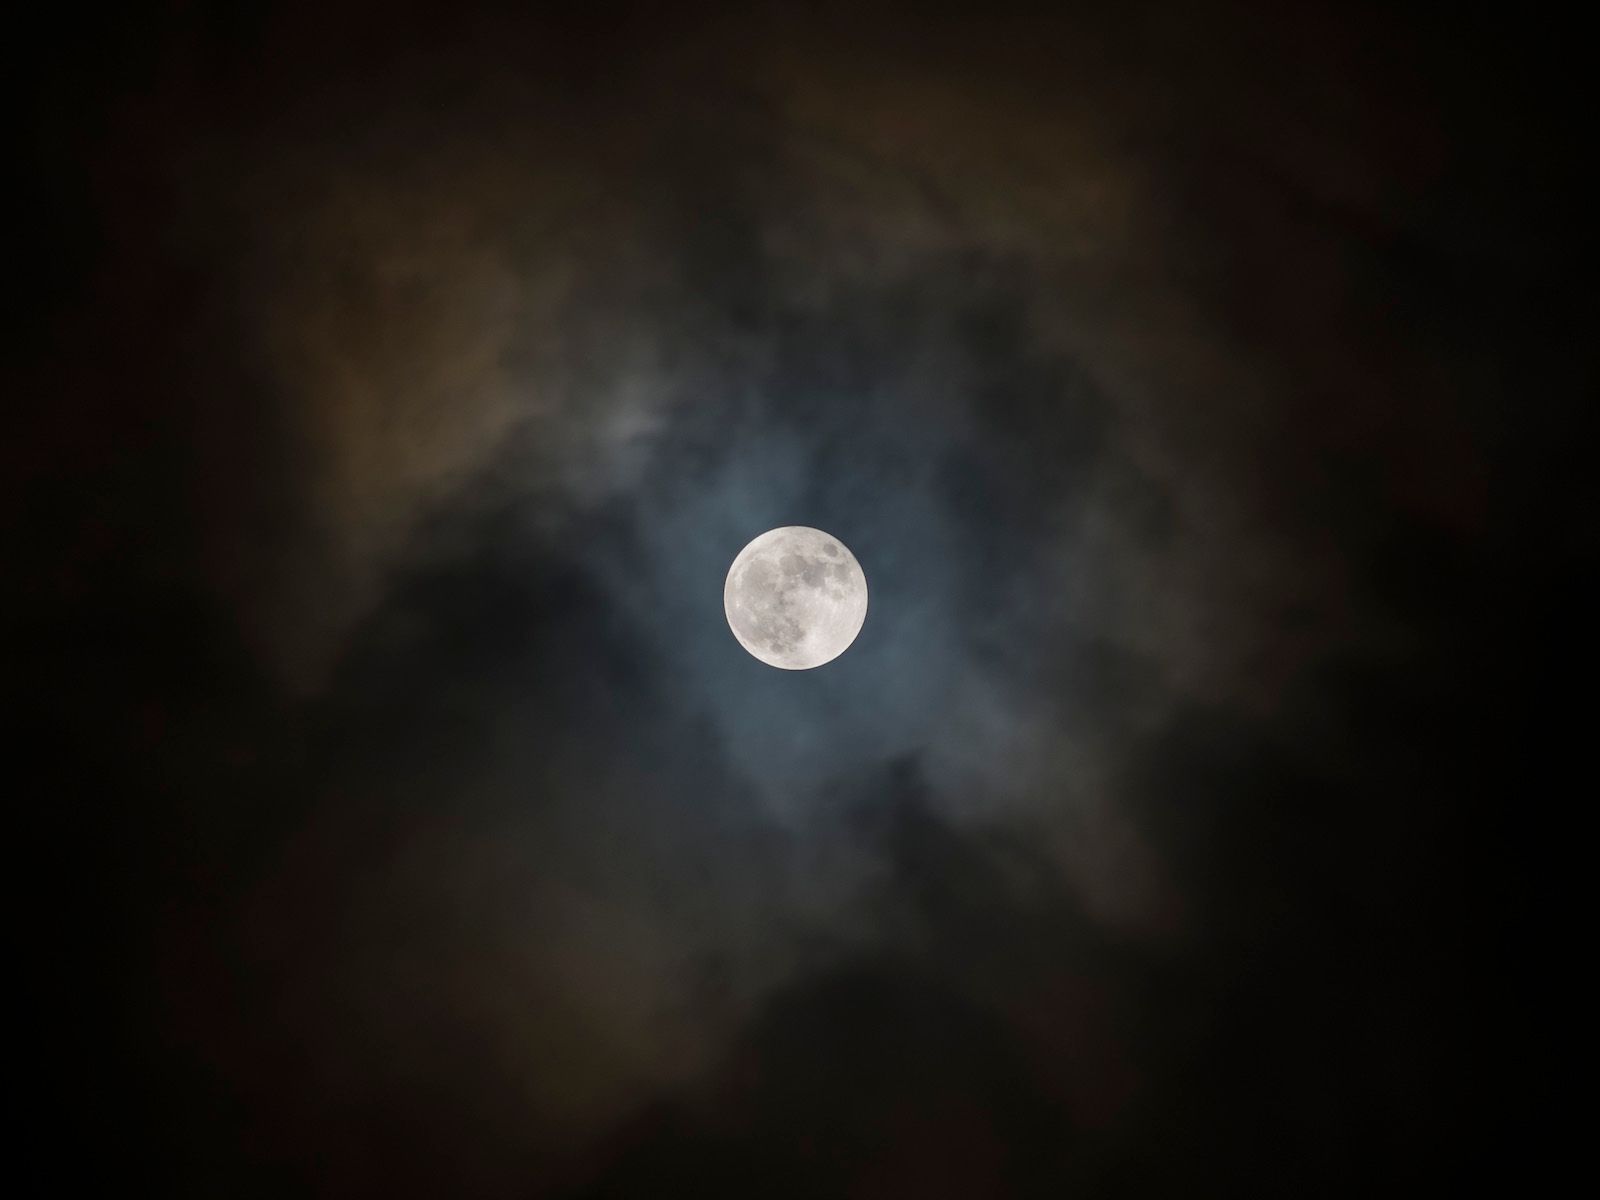
With the equipment side of things sorted, your next step is to find the best time and place to make your shot. Do you want a picture of the full moon, new moon, or somewhere in between? This website can help you plan. You will also need to go somewhere dark, with as little light pollution as possible. The top of a hill is a good idea. Check the weather forecast – you will probably want a clear night on your first attempt, but I’ve found that a thin layer of cloud or mist can add some drama to your picture.
Setting up your shot
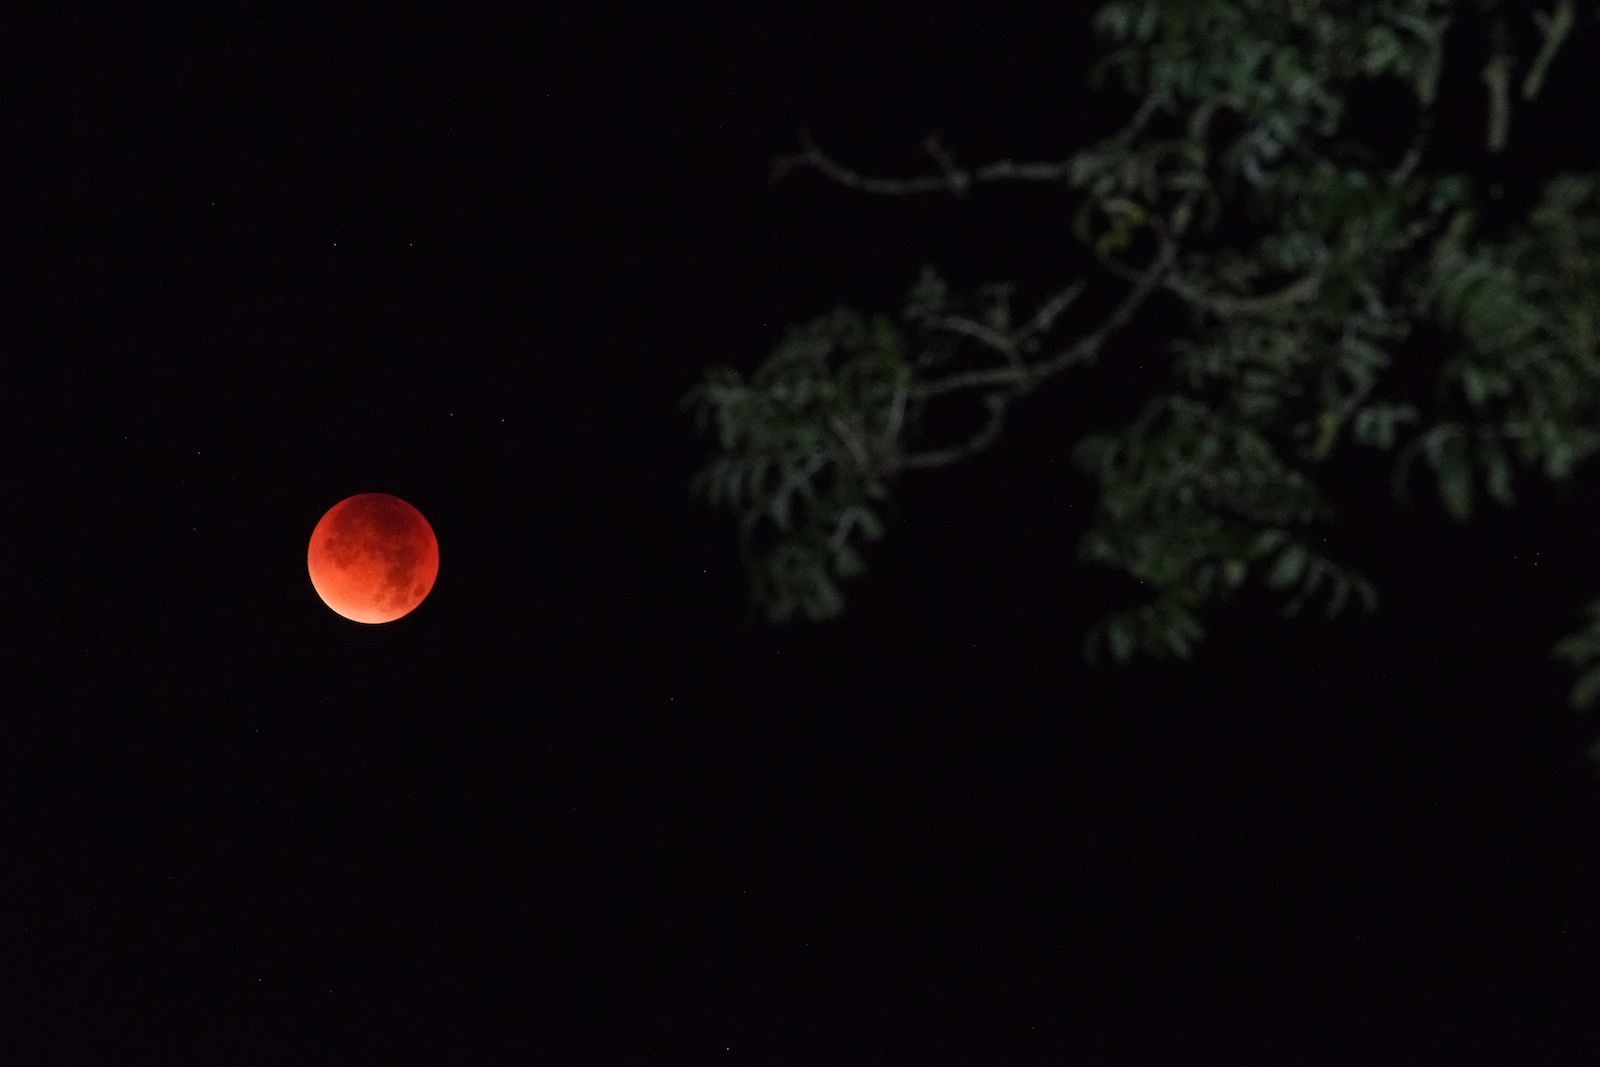
After setting up your camera and tripod, wait for the right moment. If the moon is rising or sinking through tree branches or cloud, you may want to photograph it right away or wait for it to clear – this will depend on the shot you have in mind. For your first attempt, I recommend trying to get the moon in a clear patch of sky.
Every camera works in a different way, so what you’ll do next will vary. But you have several things to think about.
- Focal length
- Composition
- Focusing
- Exposure
Focal length
I suggest attending to this first, because you can’t compose your picture without setting your camera to the right focal length. If you have a fixed telephoto lens you don’t have to worry about this, but a zoom lens will need to be extended – usually to the maximum setting your camera will allow. I use a vintage 200mm lens giving me an equivalent focal length of 300mm in 35mm terms, but more is definitely better when it comes to moon photography.
Composition
Decide how you want to compose your image. The moon is usually a simple subject, so it’s a simple decision: put it in the middle of the frame, or try to use the rule of thirds? Wider shots featuring landscape elements or atmospheric effects will make composition a little more complex, but it’s a good idea to plan out your shot before you press the shutter.
Focusing
If your camera will focus on infinity, use that; otherwise, autofocus on the moon.
Exposure
This is the key to the whole puzzle. It’s dark, so your first instinct might be to open up your camera’s aperture and use a long shutter speed. However, this will result in the moon looking like a white, washed-out ball with no detail. Don’t use the ‘auto’ mode. Set your camera to ‘M’ for Manual, and shoot in raw.
The truth is that your subject, the moon, is a very bright object – so you’ll be using exposure settings that might look more appropriate for daylight photography.
With a DSLR or mirrorless camera, an aperture of around f/8 is usually about right. Experiment with shutter speeds between 1/250 and 1/1000 until you get an image that looks good (and don’t forget to use your self-timer or remote release to eliminate camera shake). Use the lowest ISO your camera is capable of; this is likely to be around 100 or 200.
If using a bridge camera with a smaller sensor, you might be using an aperture more like f/4 or f/5.6, so you will need to use a shorter shutter speed to compensate. Start at around 1/1000.
That’s about all there is to it! Astrophotography is something I’ve only started to experiment with in the last year, but it can be incredibly rewarding. Occasionally, rare astronomical events take place – and it’s great to know you have the skills to capture them.
All photos © Alex Roddie 2015-16. All Rights Reserved.
Alex Roddie Newsletter
Subscribe here to receive my occasional personal newsletter in your inbox. (For the fun stuff, please consider subscribing to Alpenglow Journal instead!)