Electronics for lightweight and ultralight backpacking
This article was last updated on 31 March 2019.
“Nothing that uses a battery can be relied upon in the wild.” This is something we hear from time to time, but how true is it? What level of electronic gadgetry is necessary or appropriate in the outdoors? The purpose of this article is not to dictate what you should or shouldn’t do – it’s simply to demonstrate what works for me at this point in time, and to share some of the points I’ve learned over the years.
Contents
The smartphone

A mobile phone is a necessity for the modern backpacker. Even if used for nothing else, it’s an essential lifeline in the event of emergency. But most backpackers will choose to take advantage of a smartphone’s near-miraculous ability to replace other items as well.
What to look for:
It doesn’t really matter what kind of smartphone you have – most modern smartphones will do everything the wilderness traveller could need. However, I’d advise steering clear of the very cheapest models, which often have limited memory and lack the processing power to run navigation apps such as ViewRanger smoothly.
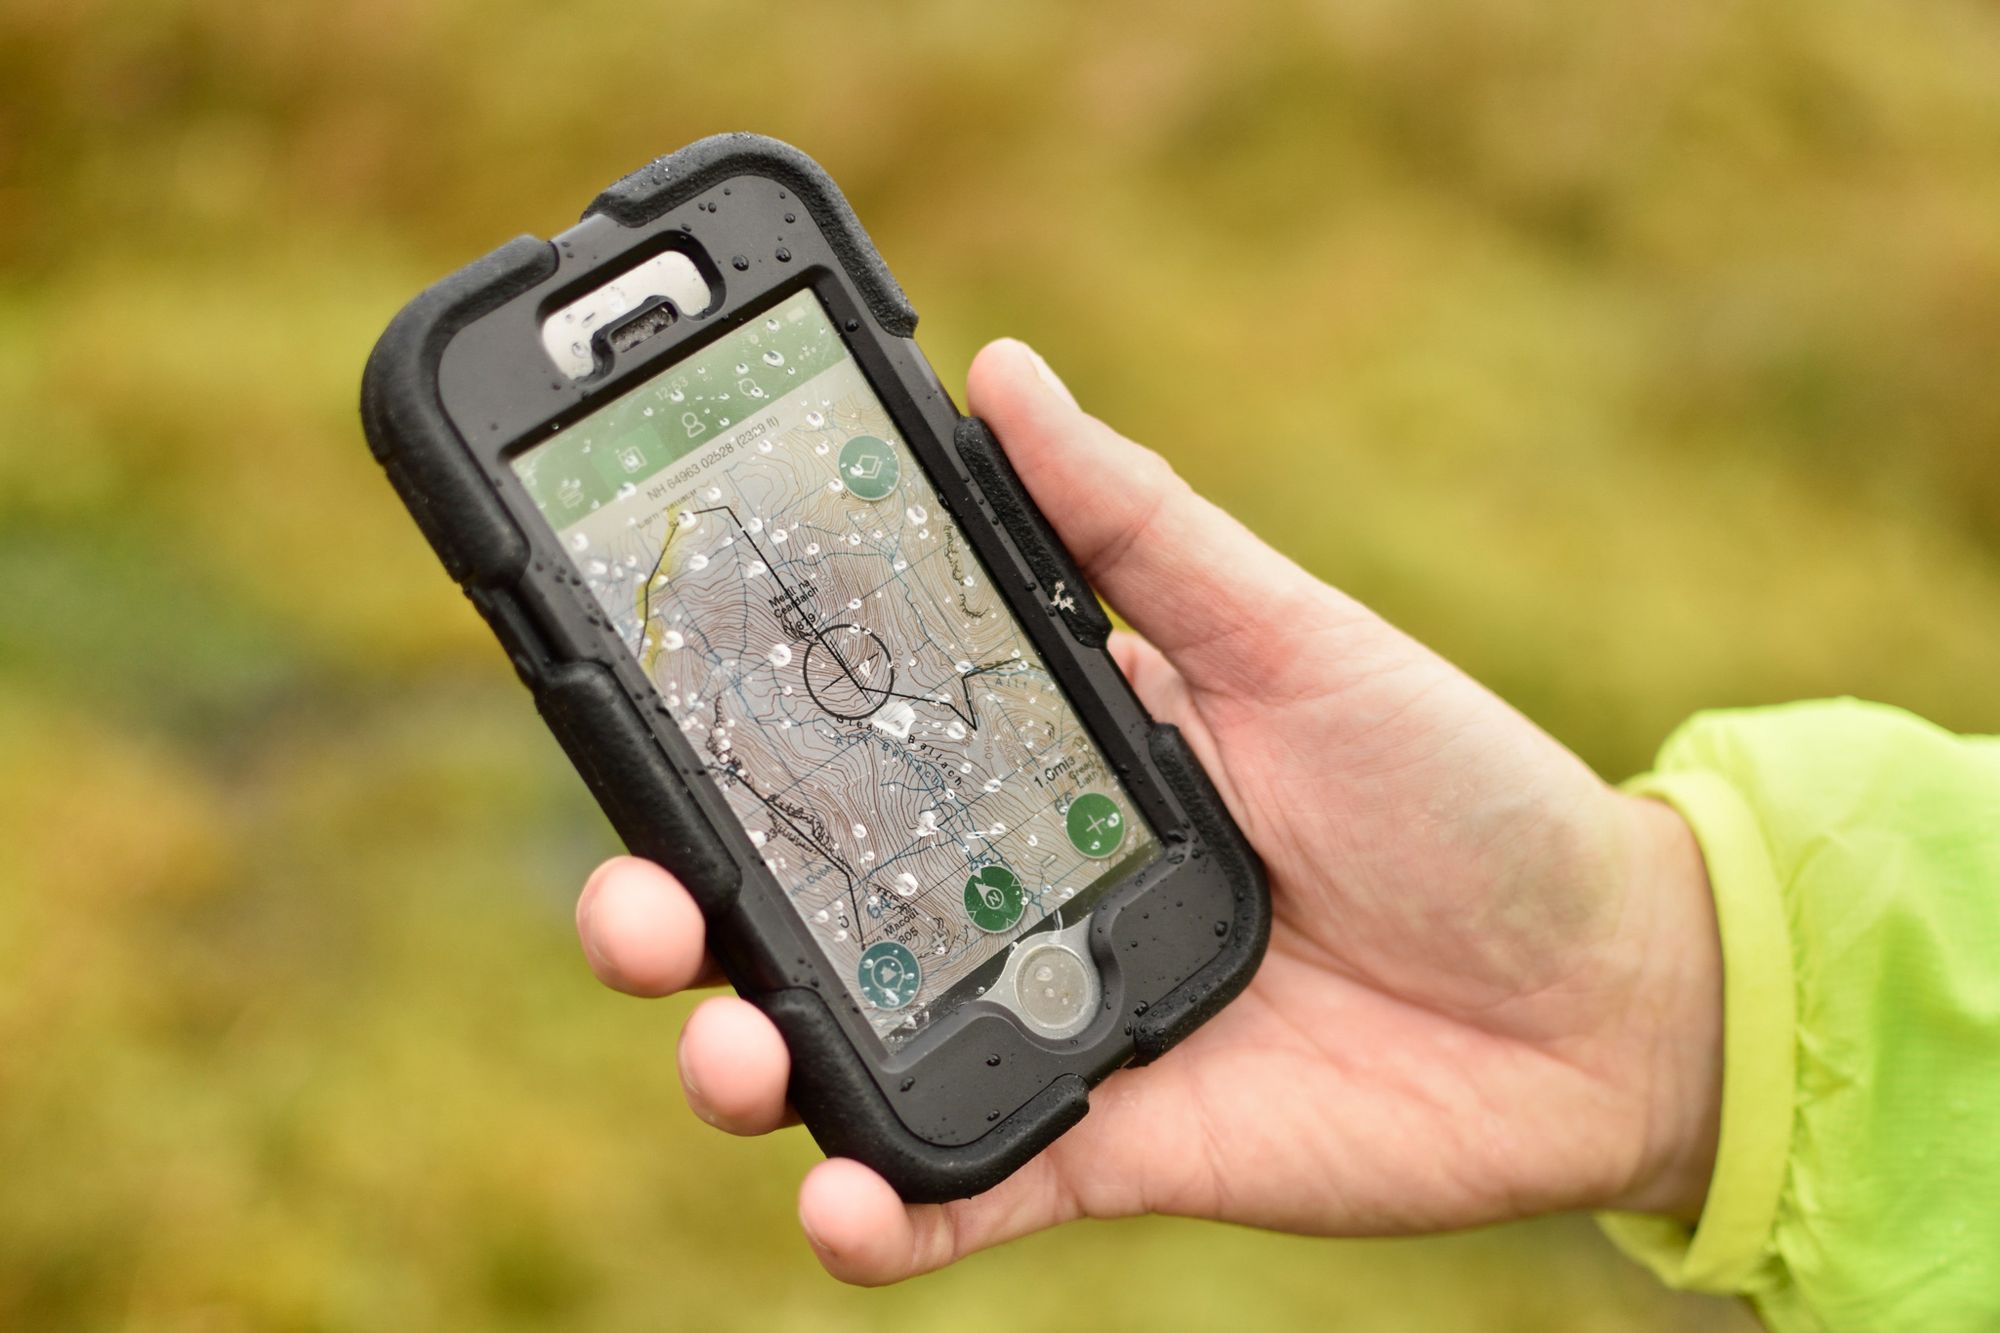
For outdoor use, look for a phone with good battery life, mid-range or better specs (that is, a reasonably fast processor and a decent amount of RAM), and ideally waterproof construction. If you want to use your phone for digital mapping, you will also need either a reasonable amount of built-in memory or the ability to expand it with a Micro SD card; I recommend 32GB as a bare minimum, or 64GB as a comfortable minimum.
Both Android and iOS offer all the apps and software features needed to make full use of your phone in the outdoors.
My choice:
In 2019, my smartphone of choice is the iPhone Xr (128GB). It’s a clear upgrade over my old iPhone SE in several ways:
- Most importantly for outdoor use, the Xr is waterproof.
- Battery life is almost twice as good.
- The screen is larger, which makes it better for viewing maps.
- The camera is capable of resolving more fine detail and dynamic range.
- I chose the 128GB model, which has double the memory of my old phone.
- Unlocking the phone with Face ID is better than Touch ID on the trail. Touch ID doesn’t work at all if you’re wearing gloves, while Face ID copes with hats, sunglasses etc. better than I expected.
What I use a smartphone for
Here’s what I use my smartphone for on the trail.
1. Voice and text. For keeping in touch with people at home. Because I’m on the Three network, I get free roaming in most European countries, and I’ve found signal to be decent in the Highlands too.
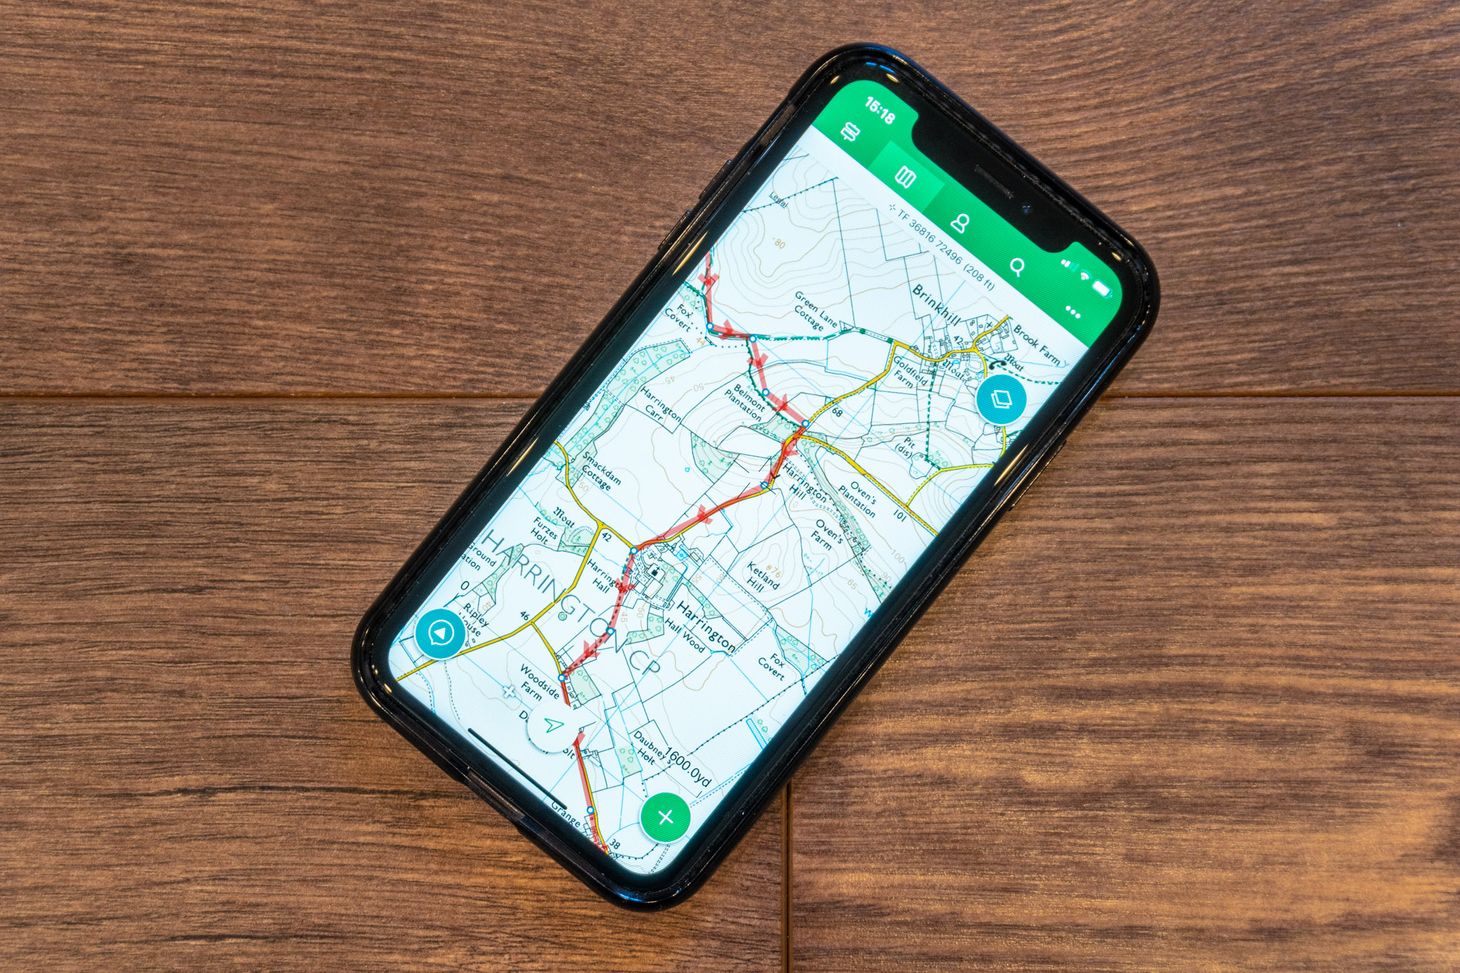
2. Digital navigation. This depends on the circumstances, but I use ViewRanger to a greater or lesser extent on every single trip. Sometimes it’s my primary method of navigation; sometimes it’s just for occasional position checks. ViewRanger is the most important app I have on my phone when I’m on the trail. For trips abroad, I use Gaia GPS. Do not attempt to use Google Maps in the mountains, or any other app that has not been specifically designed for outdoor/mountain use!
3. Travel information and documentation. I use a combination of the Trainline app and Bus Checker for planning public transport and purchasing tickets. The Trainline app also stores journey details. I keep a physical duplicate of all travel documentation in a pocket notebook.
4. Weather and avalanche forecasts. Self explanatory. The apps I use are the excellent MWUK (for the UK) and Yr.no (which covers pretty much everywhere in the world).
5. Social media. I try to keep this to a minimum when hiking. I have the Instagram app installed on my phone. I try to keep off Twitter as much as possible when I’m outdoors, and I no longer use Facebook.
6. Photography. The iPhone Xr’s camera is excellent. Although it isn’t my main camera, I use it for shooting quick snaps for Instagram, and as a backup to my main camera. See also: Smartphone photography for outdoor writers
7. Audiobooks and guidebooks. I use the Audible app to listen to audiobooks, and if I’m hiking a long-distance trail I’ll keep the e-book edition of the guidebook in the Kindle app.
Power saving and other tips
Some people choose to keep their phone switched off while they hike, only turning it on when they need to use it, but my preferred strategy is to leave my iPhone set to airplane mode, which disables all wireless antennas except for GPS. This enables me to use ViewRanger and access data stored on the device, but dramatically reduces power consumption. Due to the often poor signal in mountain areas, power can drain far more rapidly than usual unless you activate airplane mode – this is a key technique for taking your smartphone into the wild.
I also recommend you deactivate background app refresh and other processes that run in the background. Deleting apps you don’t need while on the trail can also help. What about Raise to Wake, the very handy feature on recent iPhones that activates the screen when you raise the handset? I recommend deactivating this feature while you’re hiking, as it could cause the screen to activate while being jostled in a pocket or bumbag, wasting power.
You’ll be without phone signal much of the time, so make sure you have saved any information you’ll need to your phone’s memory – especially any digital maps you will need (if you use digital mapping). It isn’t always immediately obvious whether you’re accessing map data over the internet or have downloaded it to your device, so make sure you have checked this before you go off the grid. The same goes for music, audiobooks, podcasts, and Kindle books.
Phone case
What to look for:
It’s a sad fact that most premium phones in 2019 are made of glass. If you drop a glass phone on a rock it will crack. This means you need a case.
It doesn’t need to be expensive, but you’re looking for something that’s a) shock-resistant, b) grippy, and c) lightweight. If your phone isn’t waterproof, then it’s worth looking for a case that will keep water out too. Brands worth looking at include Otterbox, Tech21, and Griffin.
My choice:
Because it was the only case available in the shop when I upgraded my phone, I currently use the Tech21 Pure Tint Carbon case for my iPhone Xr. It’s lightweight and impact-resistant, but far too slippery for my taste, so don’t take this as a recommendation! I’m looking for something more grippy.
Headlamp
What to look for:
For lightweight backpacking in summer, the key question to ask yourself is whether you will need to do any night hiking. If the answer is no, you’re looking for something purely for use in camp. It doesn’t need a lot of power, and a broad spread of light is best. Such lamps are often extremely lightweight. Battery life is not a critical factor if you’re only using the torch around camp.
If you anticipate night hiking, then you need something capable of kicking out more light (and in a more focused beam pattern) while also offering a low-power mode for camp use. Battery life is more important for this category of lamp. Water resistance is useful too.
For climbing big mountains in full-on winter conditions, you need significantly more power, guaranteed weather resistance (including the ability to use Lithium cells for protection against sub-zero temperatures), and marathon battery life. Such lamps don’t tend to be ultralight!
My choice:
For midsummer backpacking when I don’t expect to do any walking after dark, the only choice for me is the Petzl E+lite. This is an incredibly light headtorch at only 27g, and it provides enough light for use around camp or in a bothy. The new model is much brighter than the old one. It still isn’t powerful enough for night hiking with, but for the majority of summer use that’s an edge case.
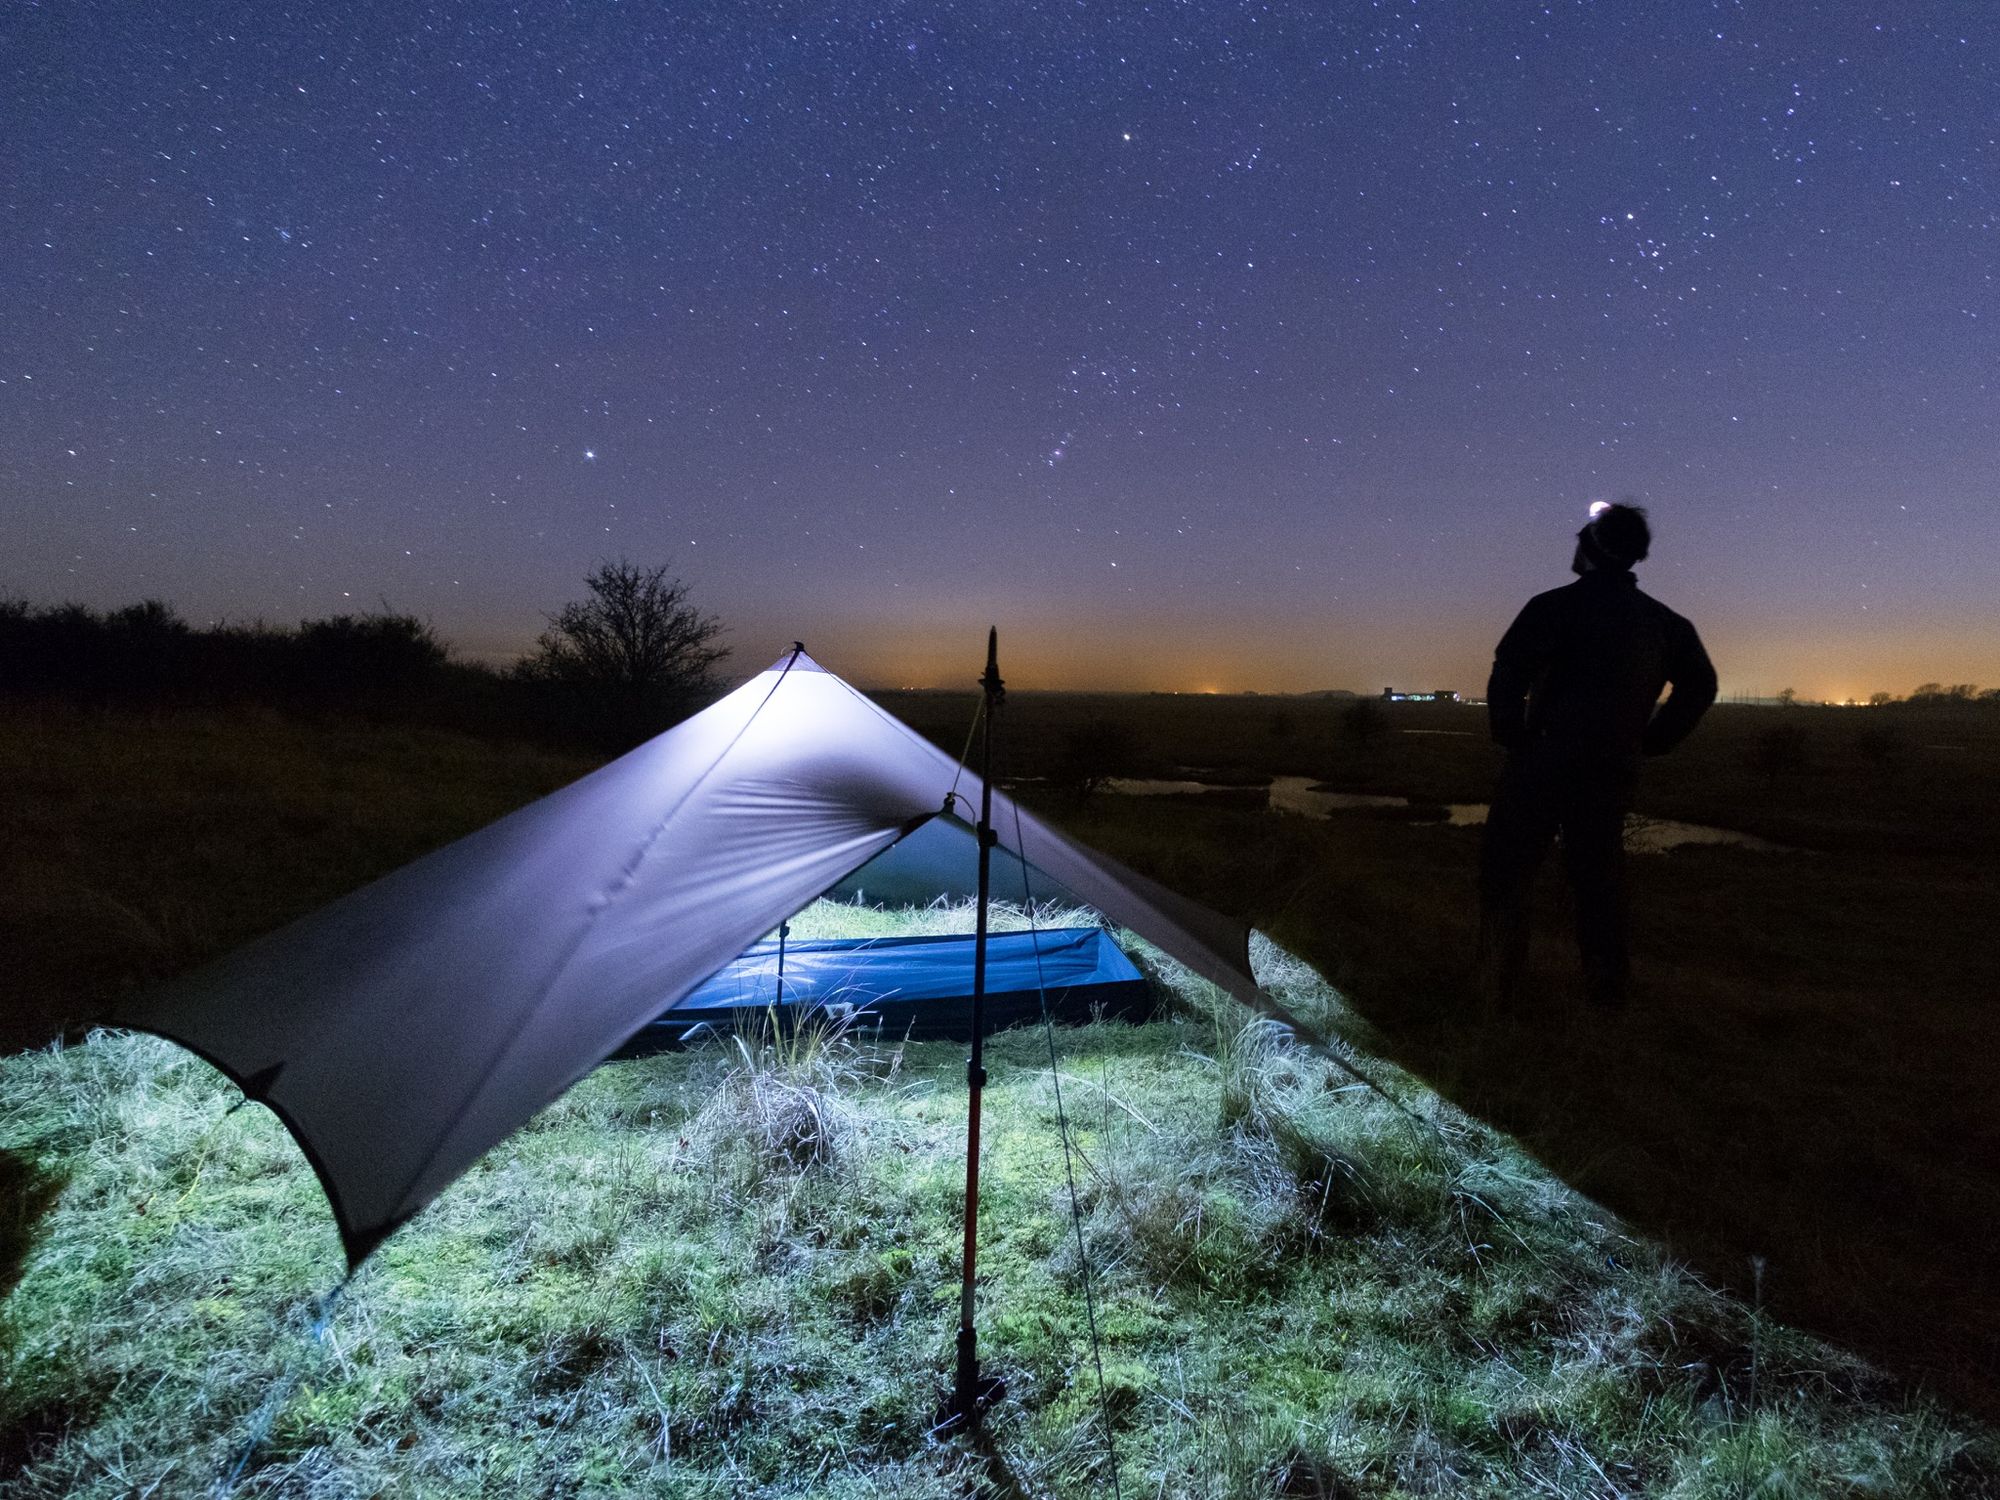
If I anticipate night hiking, then I favour the Petzl Zipka. This lamp can either use a Petzl Core rechargeable battery (charged by a Micro USB cable from a power bank) or standard replaceable AAA cells – including Lithiums if needed. At 55g, it’s still ultralight, but can produce significantly more light than the E+lite, and in a more focused beam.
For winter mountaineering, I use the Black Diamond Icon 500: a seriously hardcore lamp suitable for night hiking in atrocious conditions. It’s powered by 4xAA cells and offers more than double the battery life of the Petzl Zipka. It also weighs 200g, so I’ll only pack this lamp if I really need it.
Camera
What to look for:
For personal use, unless you’re a photography enthusiast, there’s little need to pack a dedicated camera these days – the camera in your smartphone is more than good enough. If you do need a dedicated camera then it’s likely you already have a good idea of what you need. There are unavoidable compromises between image quality and weight, and only you can make the call where those trade-offs lie for your specific needs.
To gain an insight into how I arrived at my choice of photo gear, see Lessons learned in the search for the perfect backpacking camera.
My choice:
In 2019 my camera of choice is the Sony a6300 + the 16-50 f/3.5-5.6 power zoom lens. This is a highly compact camera with an APS-C sensor, and is capable of stunning image quality. The included 16-50 lens is not the best available for the system, but it is the lightest zoom lens around, and image quality is in fact very good – certainly more than good enough for my needs. All said, the camera weighs 527g.
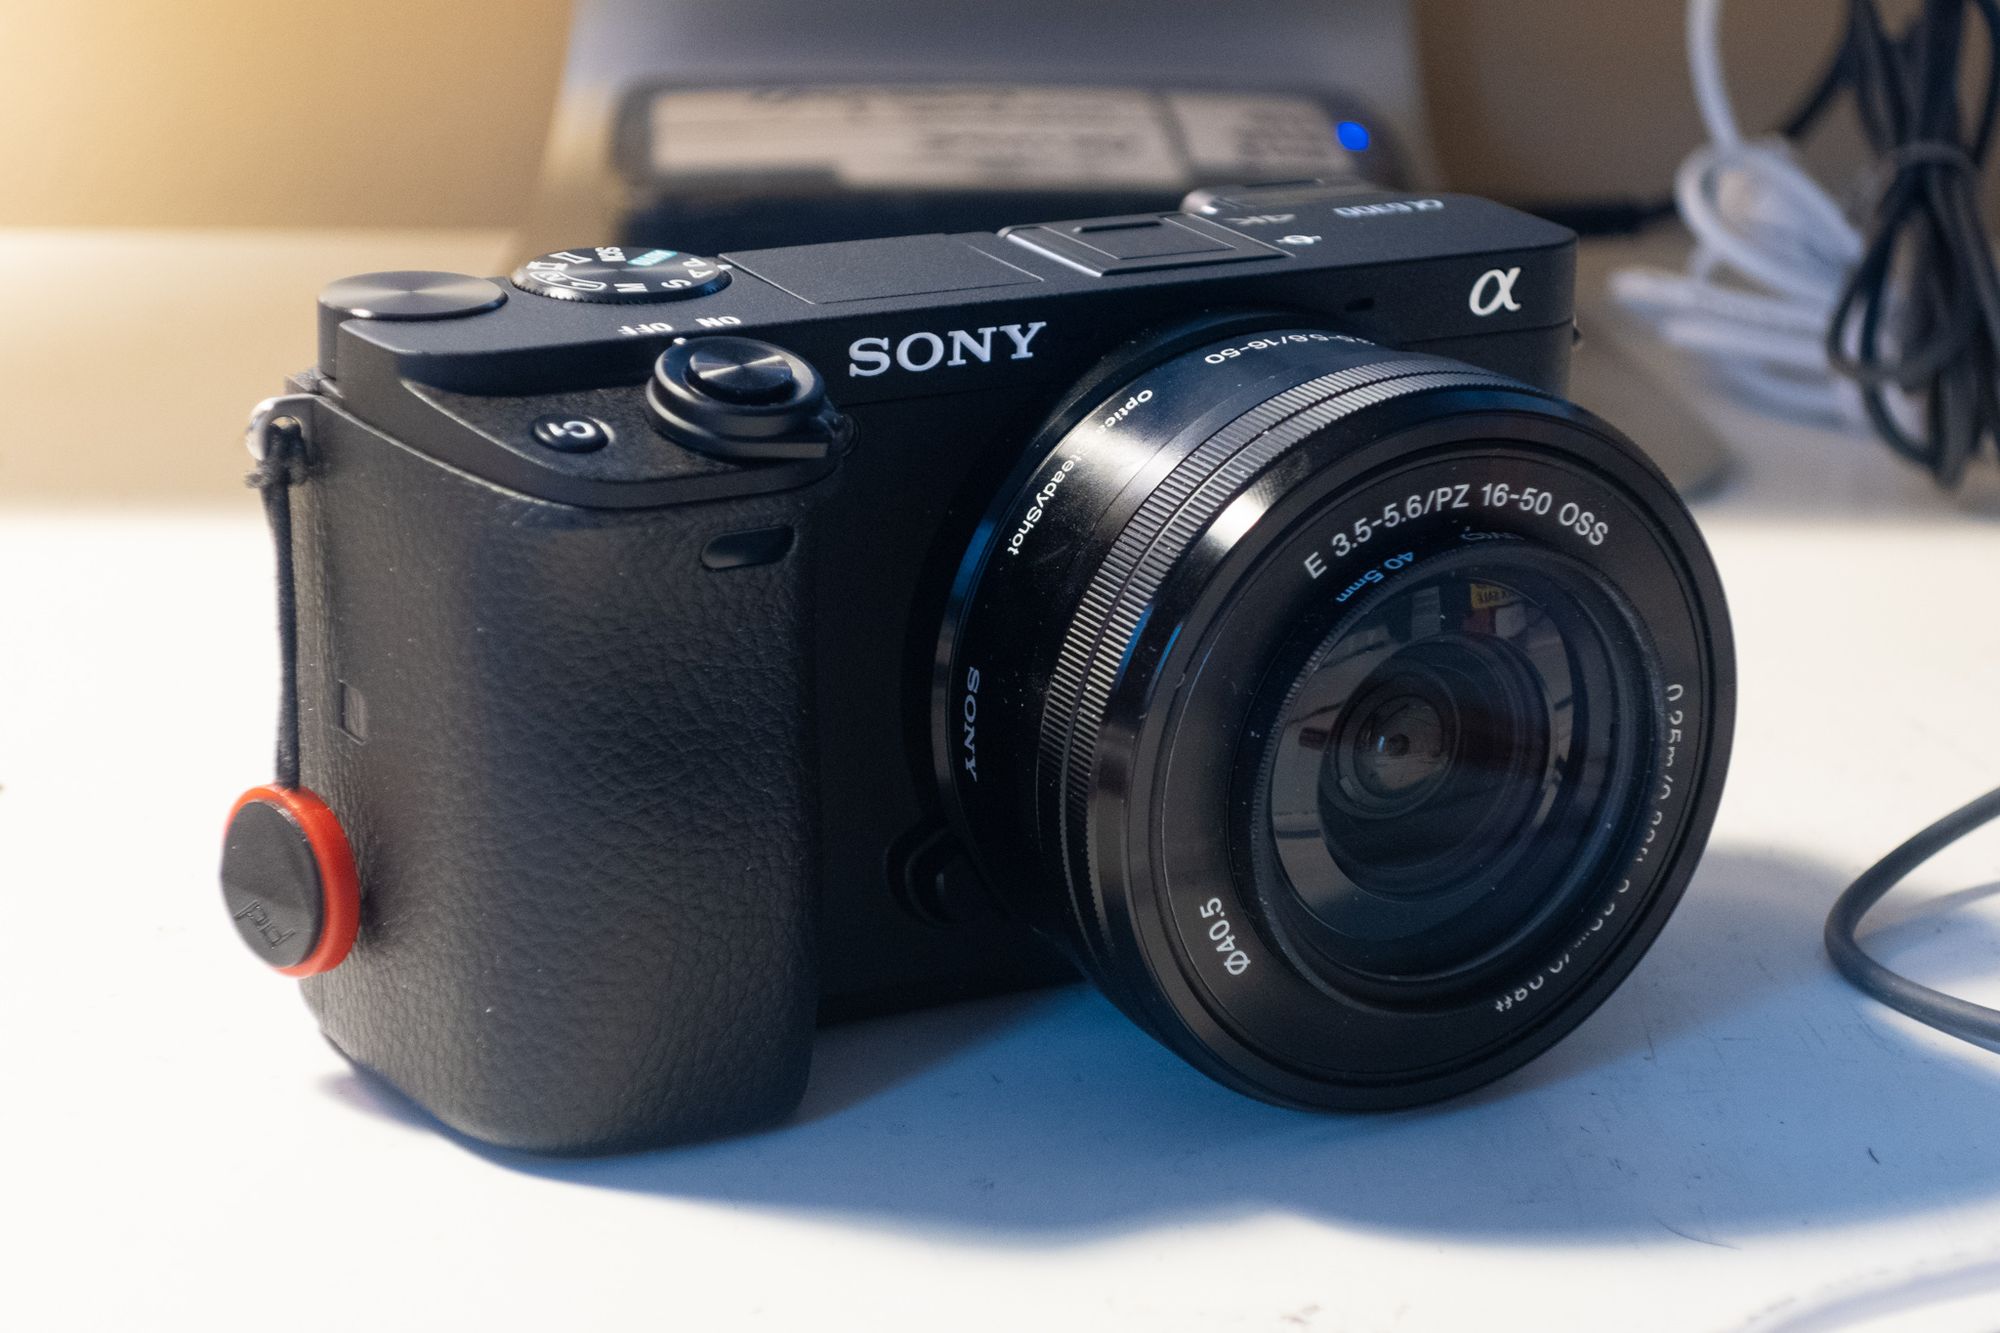
I carry the following accessories with my Sony a6300:
- Pedco Ultrapod Mini ultralight tripod. This is an ultralight (49g) camera support, good enough to produce self-portraits when in the mountains. It has a Velcro strap that enables it to be strapped to fence posts, tree branches and so on. While I occasionally whinge about the inconvenience of not being able to set up a full-height shot wherever I want, I just can’t face the weight of a full tripod any more!
- Think Tank Mirrorless Mover 5 camera bag. This lightweight (142g without shoulder strap) camera bag is a perfect fit for the Sony, and comes with a waterproof cover.
- Spare battery and SD card. I rarely need these, but they could prove essential.
- UV filter. A UV filter permanently attached to the lens helps keep dirt and grime away from the front element, and makes it easier to clean.
- Lens cloth.
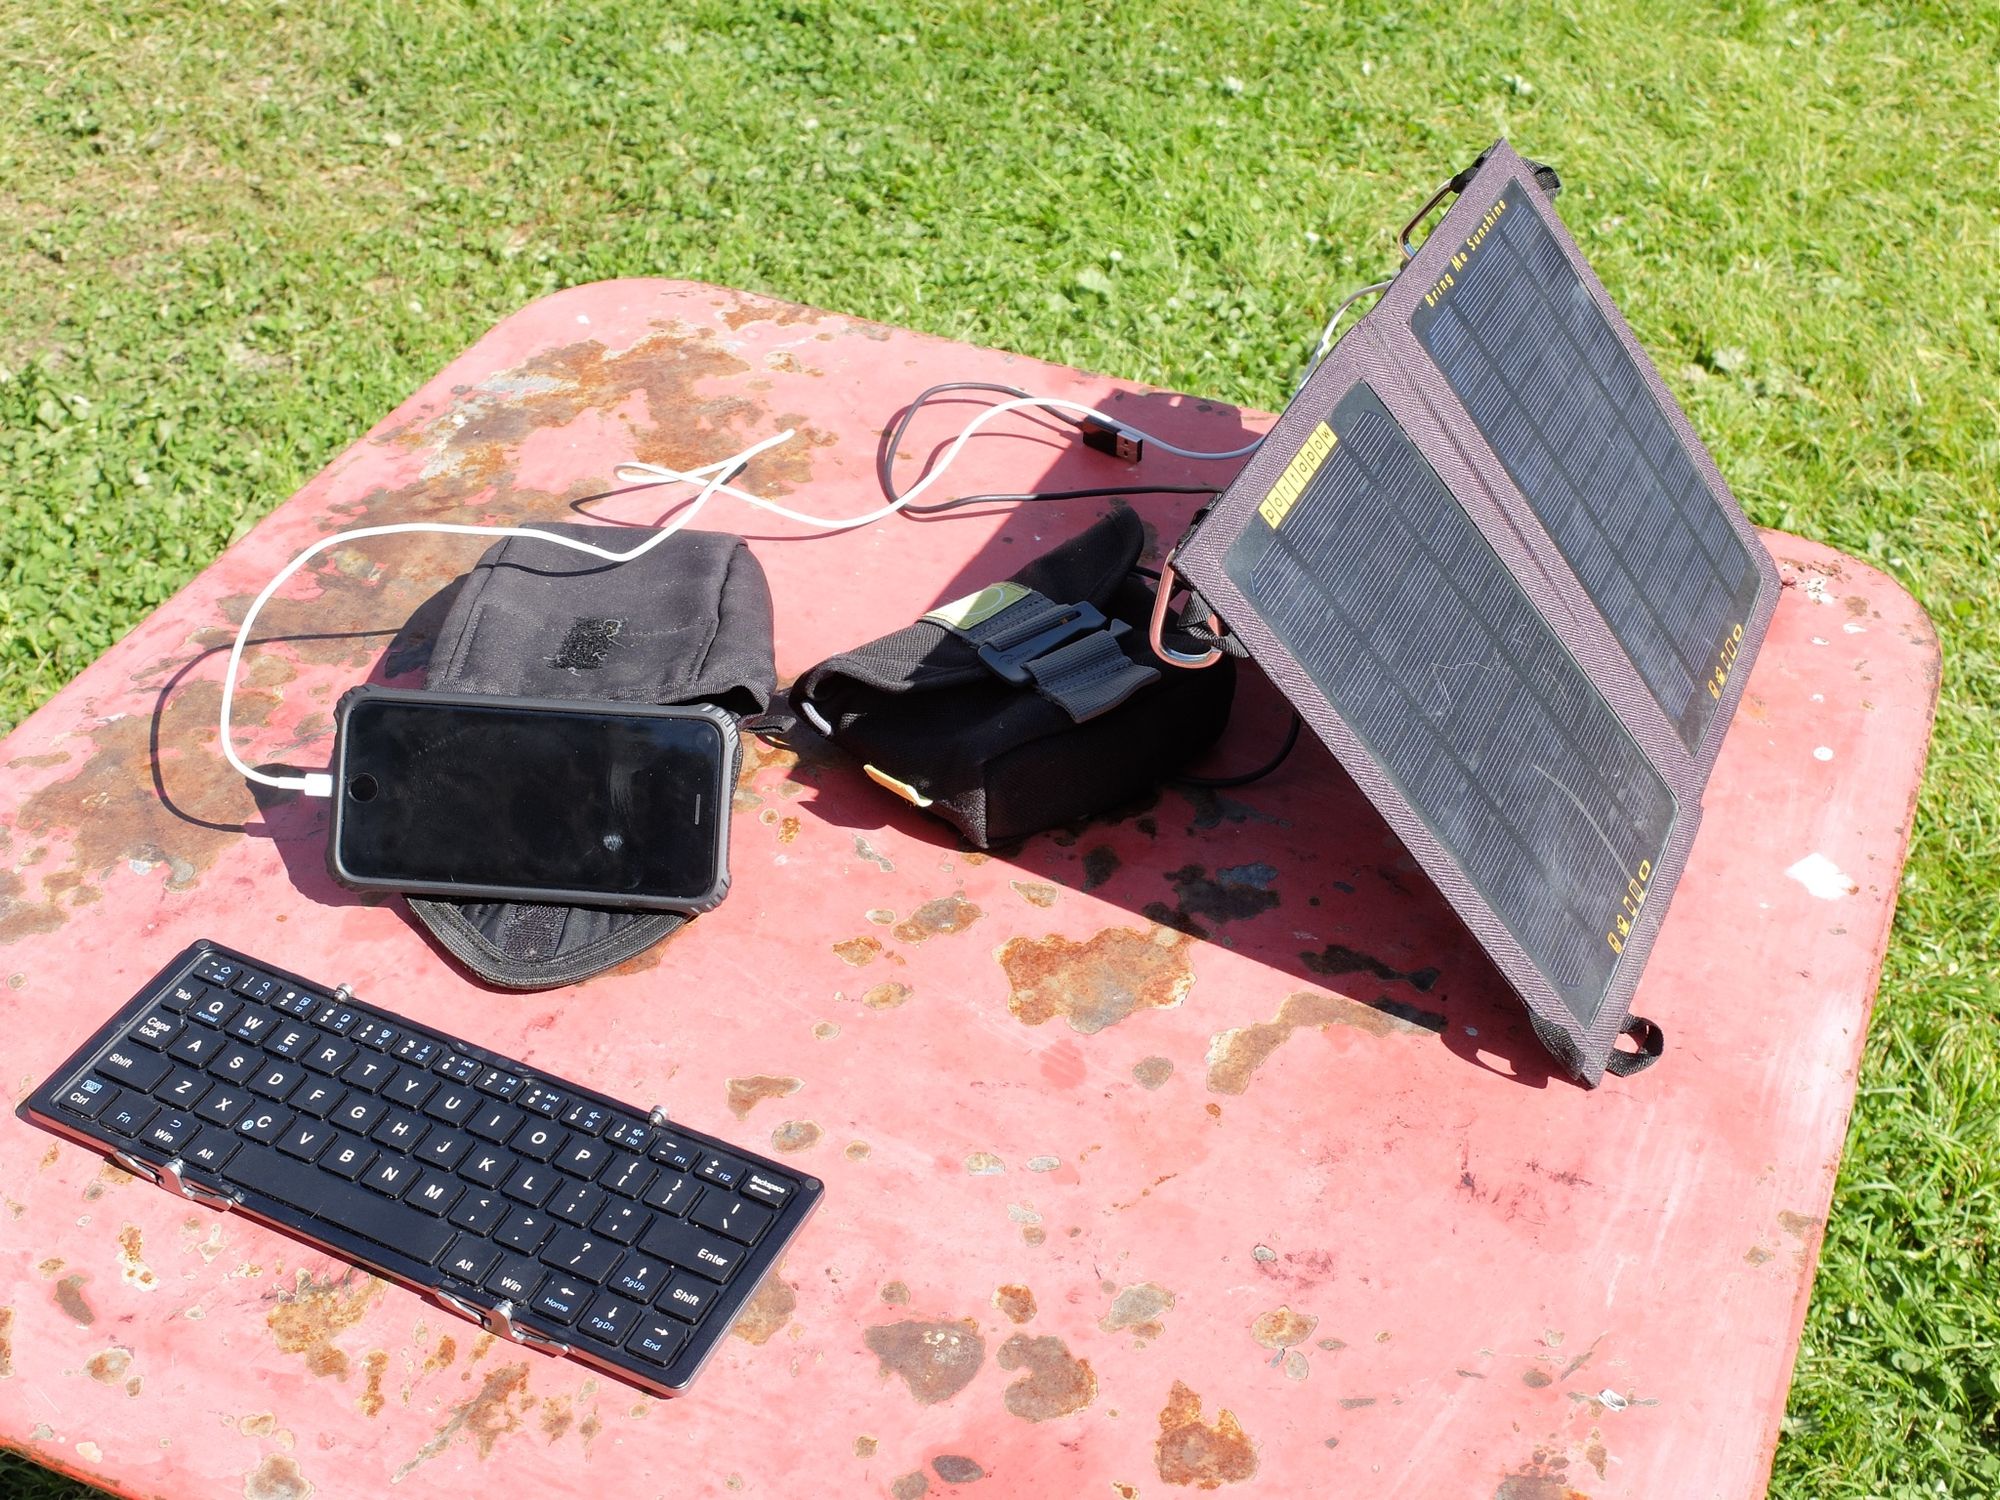
Power supply
What to look for:
Keeping this lot working is the key to the system. If you haven’t thought through your power strategy then you might as well leave the gear at home for any trip longer than a couple of days.
Most long-distance hikers carry a power bank. This allows you to carry stored energy and charge USB devices. The capacity you need depends on your power requirements and expected intervals between charging opportunities, but as a general rule I’ve found a 10,000mAh battery pack good for roughly 5-6 days on the trail, and 20,000mAh good for well over a week. Your mileage may vary a great deal here.
Remember, power banks are not 100 per cent efficient – a 10,000mAh pack won’t charge your 2,000mAh phone five times! It’s also worth bearing in mind that power-hungry devices such as drones will increase your requirements. If in doubt, err on the side of caution, and for maximum efficiency make sure every individual device is fully charged before heading back on the trail.
I recommend looking for a wall charger with at least two USB outlets. Make sure you are carrying enough cables too. If you have an iPhone, a Micro USB to Lightning adapter is a lightweight way of using one cable for two jobs.
Finally, make sure all your gear is compatible with Qualcomm Quick Charge 3.0 (QQC3.0) – that means the charger, power bank, and also your cables (not every cable you can buy supports fast charging). QQC3.0 technology dramatically reduces the amount of time it takes to charge battery packs.
My choice:
I have two different power banks:
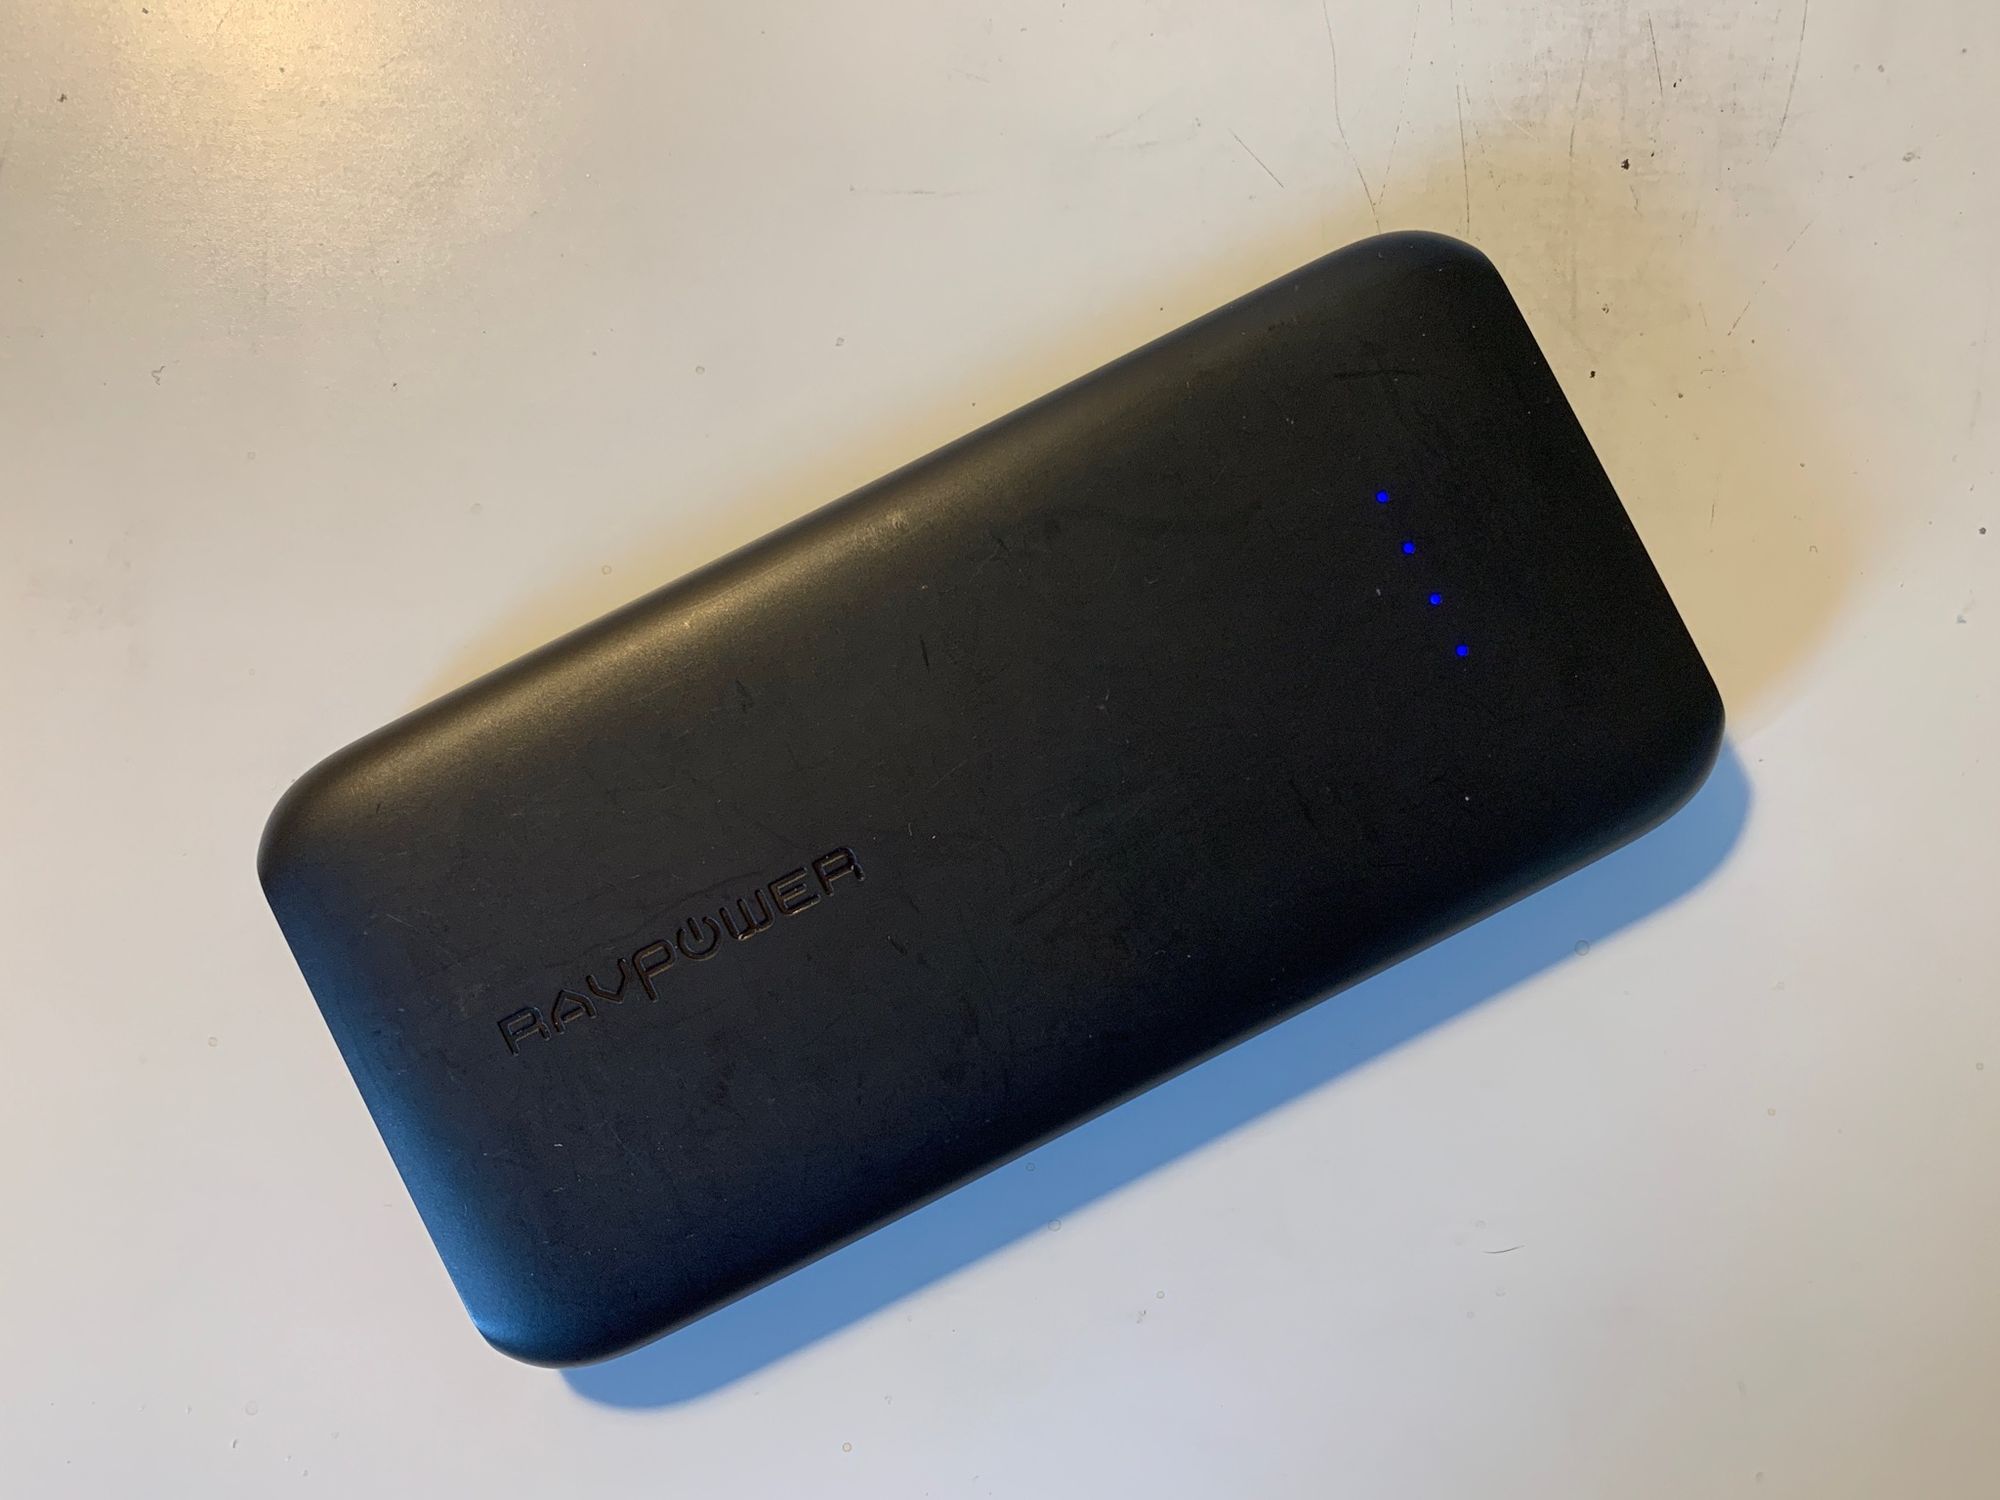
- RavPower 10,000mAh battery pack. This one weighs 193g and has a single USB outlet.
- Anker PowerCore Speed 20,000. A key upgrade over my old Anker 20,000mAh power bank, this one charges in half the time thanks to its QQC3.0 rating. It weighs 359g and has two USB outlets.
For a mains charger, I carry the RavPower 30W USB Fast Charger, which weighs 111g and can charge one device at QQC3.0 speeds. It has two USB ports in total.
I usually carry two Micro USB cables plus a Micro USB to Lightning adapter.
Conclusion
Versatility is the name of the game – I can pick and choose items I need from this basic kit, tailored for the specific requirements of my objective. Nothing on the list can really be said to be essential except for the headtorch and, arguably, the smartphone.
Alex Roddie Newsletter
Subscribe here to receive my occasional personal newsletter in your inbox. (For the fun stuff, please consider subscribing to Alpenglow Journal instead!)