Ten top tips for winter backpacking
The British mountains are at their most spectacular in winter, but also at their most challenging. Multi-day missions with nights out in the wild can be particularly hard on you and your gear. UKHillwalking contributor Alex Roddie is a big fan of long solo walks. Here are his top pointers for safe and successful winter backpacking.
This article was first published on UKHillwalking, February 2016.
1. Planning is everything
Heading out into the hills without a plan can be quite an adventure in the summer months, but this is rarely practical in winter conditions where lack of planning can result in an aborted trip – or worse. Daylight hours are significantly shorter in winter, the weather can be much more serious, and you’ll be carrying a heavier load. Avalanche risk can make your intended route unsafe. Winter backpacking is a much tougher proposition.
I’ve found that it’s a good idea to be less ambitious when planning a multi-day winter trip. Your daily mileage will be lower, and while you might happily romp up multiple Munros a day on a summer outing, this is going to be more challenging in winter. Be realistic about your abilities and experience, tailor your route to the predicted conditions, and have a Plan B – a foul-weather alternative you can fall back on in case the weather is worse than expected, or if avalanche conditions make traversing slopes of a certain aspect unsafe.
2. Find the right information
You can’t plan effectively without quality information. Nowadays there’s a huge amount of info available online, and much of it applies equally to summer or winter. A good map is the best starting point. Ordnance Survey maps remain the gold standard but Harvey maps have made huge strides in recent years – they are often available on waterproof sheets, they’re extremely readable, and Harvey have produced some excellent long-distance trail maps. If you’re planning a winter crossing of the West Highland Way or Cape Wrath Trail, for example, Harvey’s trail maps are definitely worth considering.
Next on the list should be a reliable and up-to-date weather forecast. The Mountain Weather Information Service needs little introduction for UK backpackers, but I’ve found it especially crucial in winter, and is perhaps best used in combination with the Met Office‘s mountain forecast. If your planned route will take more than two or three days it’s worth thinking about getting an updated forecast en route. A smartphone (or friendly mountain inn) will come in handy here.
Finally, the Scottish Avalanche Information Service provides daily updates on avalanche conditions in the hills. If you’re used to winter day trips then you’ll already be familiar with it. In a backpacking scenario I think it’s best used as a rough guide – you’ll be covering relatively large areas, possibly moving from one district on the SAIS charts to another, and in these circumstances your own abilities to assess avalanche danger on the go might be more relevant. Nevertheless, SAIS is a crucial info source for the winter backpacker.
3. Hone your skills
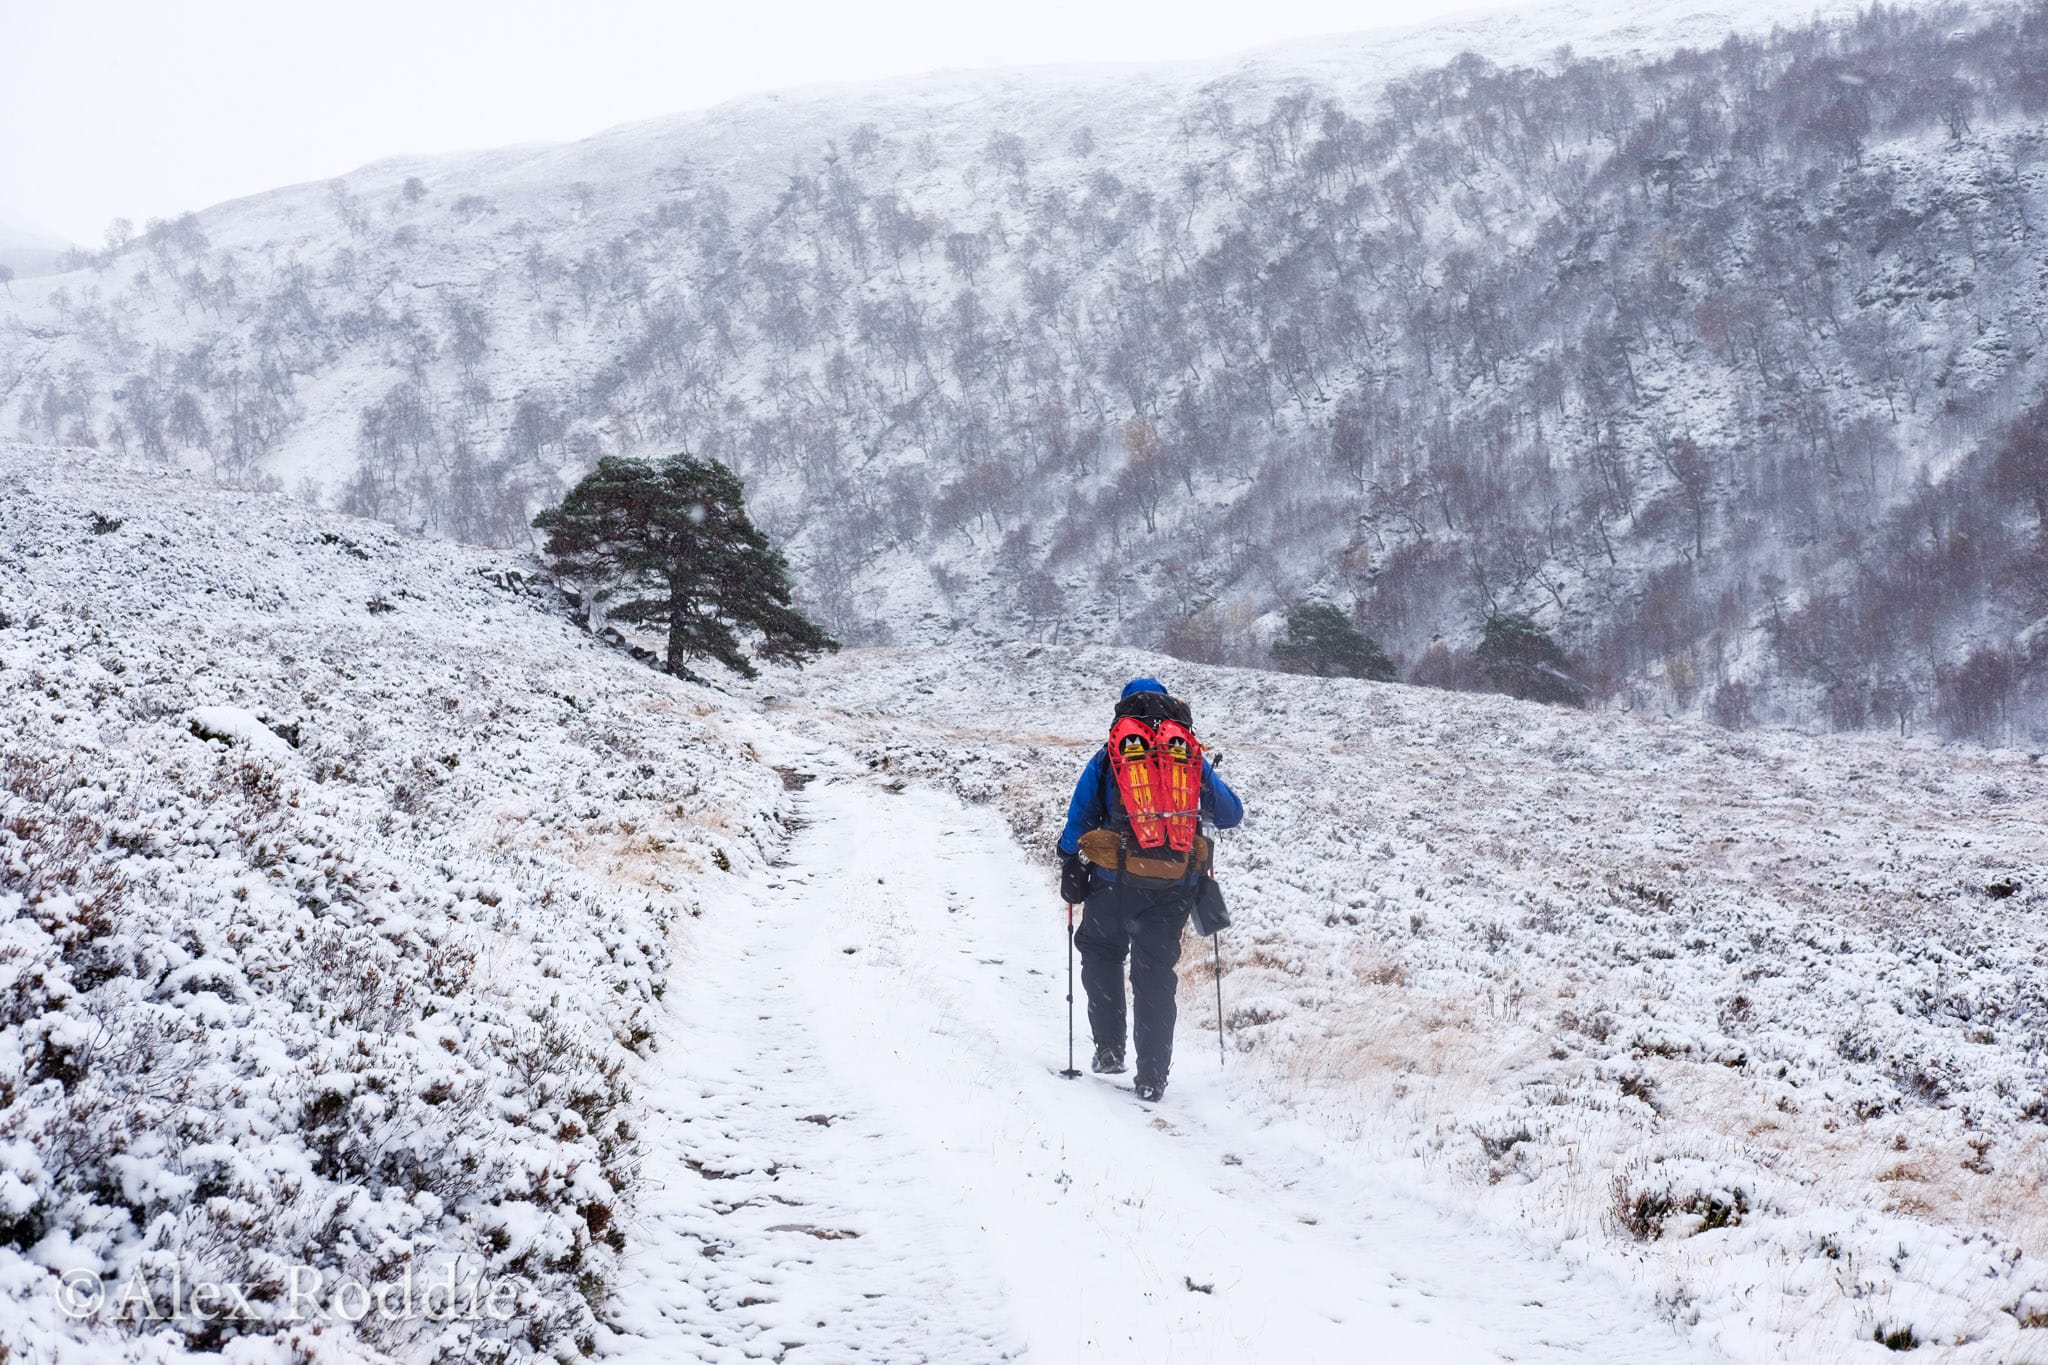
If winter mountaineering is all about efficiency, this is doubly true of winter backpacking. Skills such as cutting steps with an ice axe really come into their own when you’re out for several days at once. You probably want to get to your planned campsite or bothy before dark, after all, so cutting steps over a short section of hard snow or ice could avoid the need to stop and put on crampons – a significant time-saver. But don’t forget axe and crampon skills. Cramponning with a heavy pack requires a bit more finesse, especially if it’s blowing a hoolie. If in doubt, a winter skills refresher course could be a sound investment.
Navigation is more important in winter. Paths are often buried in snow, making casual navigation difficult, and bad weather can lead to whiteout. In such conditions it can be hard enough to tell up from down, let alone north from south. Needless to say, your map and compass skills will have to be up to scratch if your route takes you up onto the tops.
Get used to assessing the snow pack and gauging avalanche danger on the go. Learn how to dig a test pit and look for common indications of hazards such as windslab and graupel layers. This is especially important if you’re venturing into areas with little or no SAIS coverage.
4. Get the right gear
For melting snow a remote-canister gas stove is a good choice. Upright canister stoves are less versatile as you cannot invert the gas tank to feed liquid fuel directly to the burner (sometimes useful in very cold conditions). While white gas and multi-fuel stoves are very effective in winter, they’re also heavy and only worth considering if you are travelling in a group. And alcohol stoves, while light, take a long time to melt snow.
I prefer B1-rated boots in winter. B3 boots can be heavy and stiff to walk in, while trail shoes usually don’t give enough protection, warmth or stability1. For the backpacker, lightweight crampon-compatible mountain boots are just right.
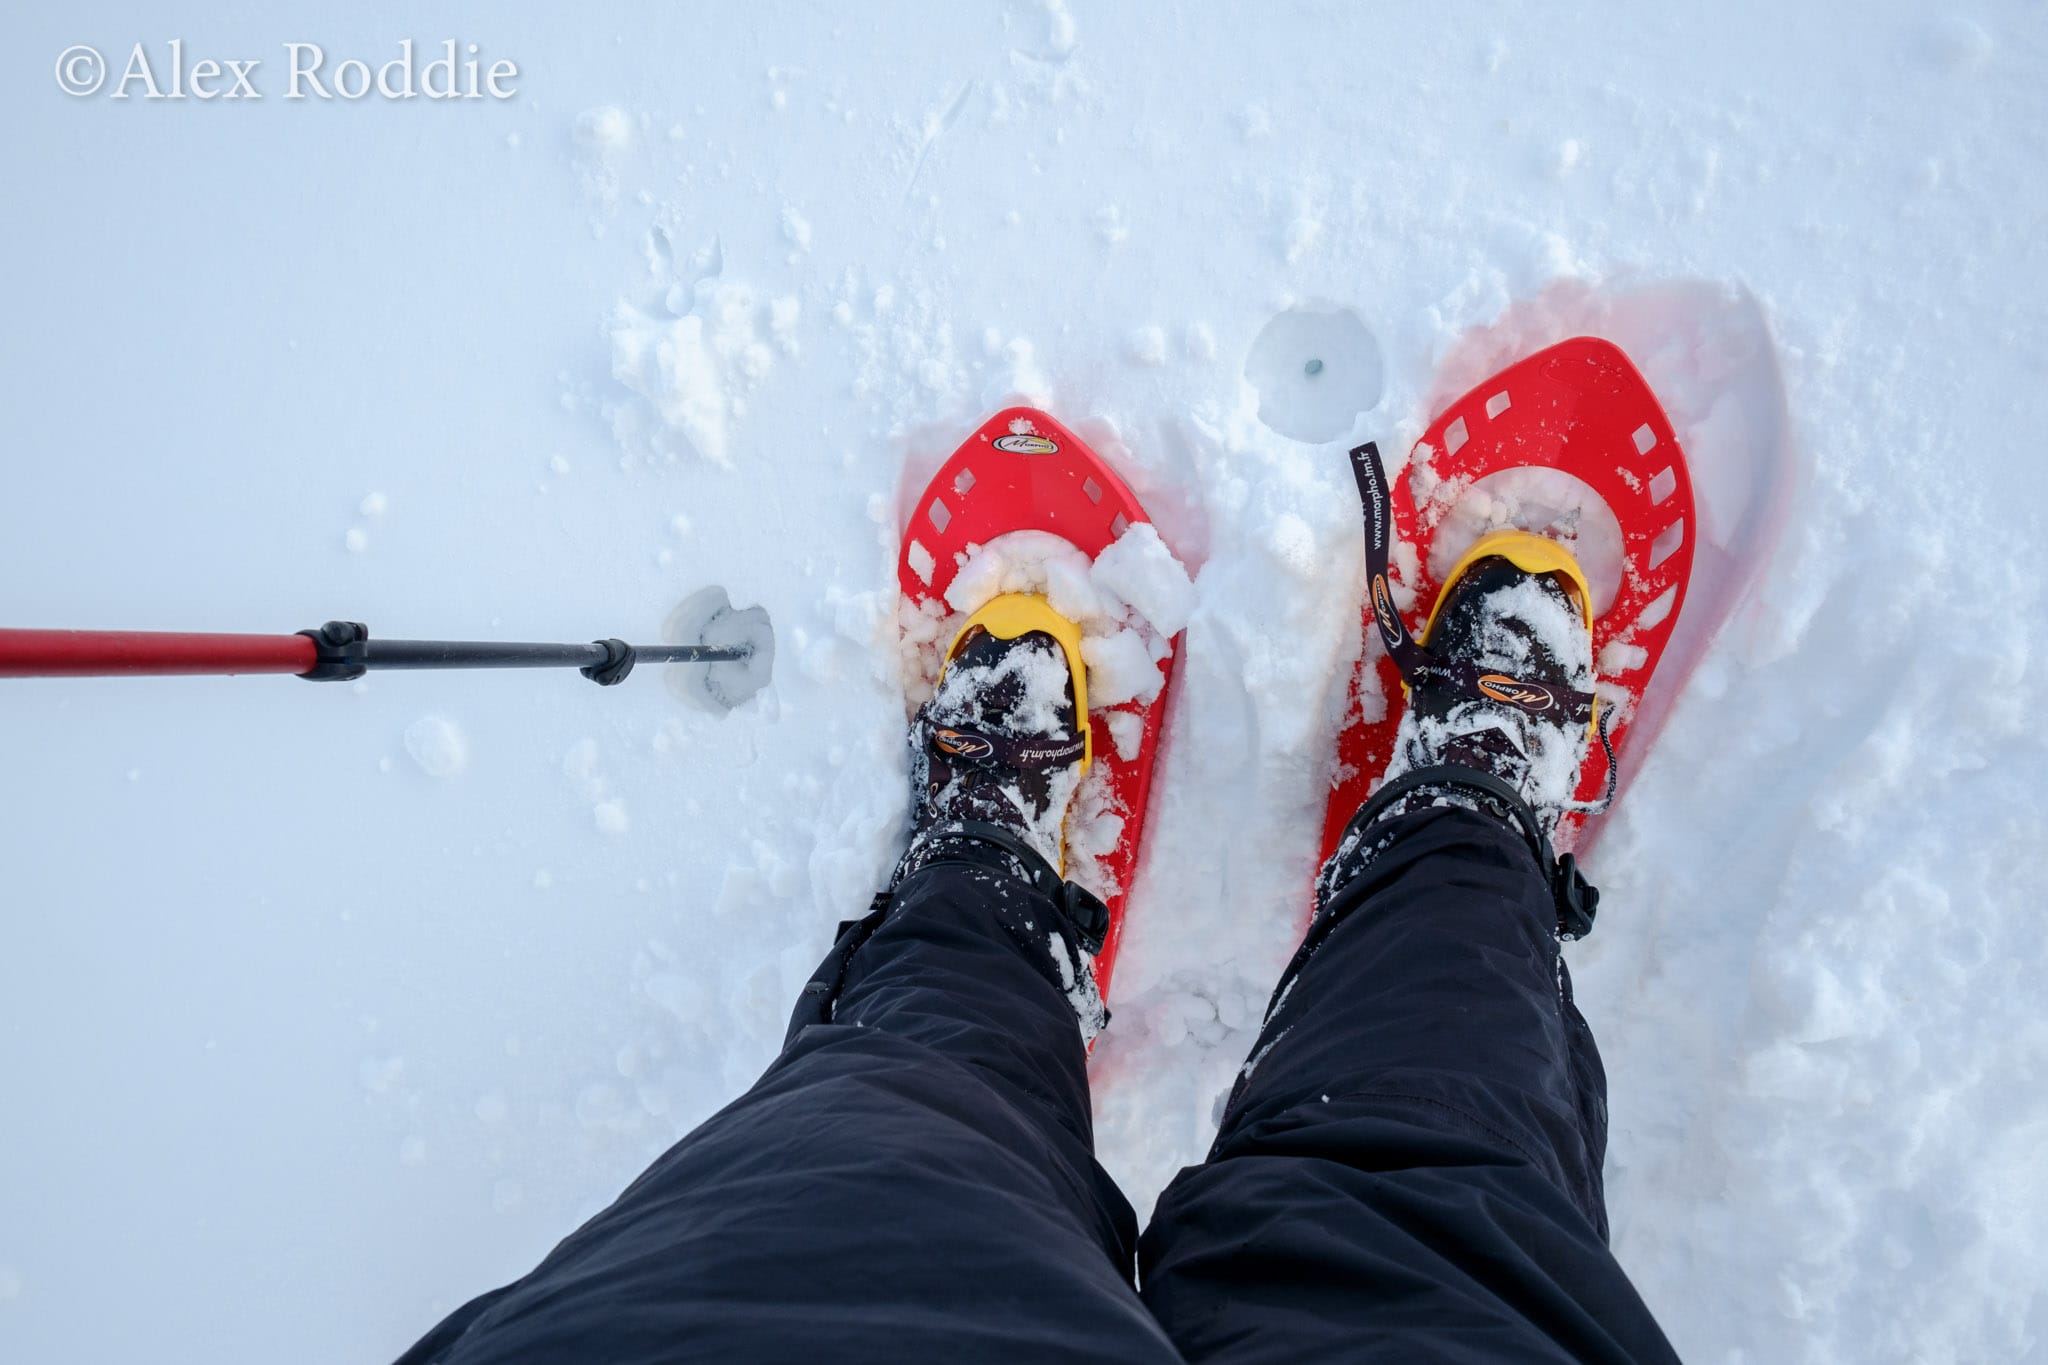
Look for lightweight winter hardware. A basic B-rated walking axe will be sufficient for most purposes. Ten-point crampons such as the Grivel Monte Rosa are suitable for backpacking, but if your route mainly sticks to easy or low-level paths then Microspikes may well be adequate. Trekking poles are useful in winter too, especially when coupled with snowshoes (which are handy items if the trail is covered in powder or wind-blown snow). Don’t forget a good headtorch with a powerful beam plus a set of spare batteries2.
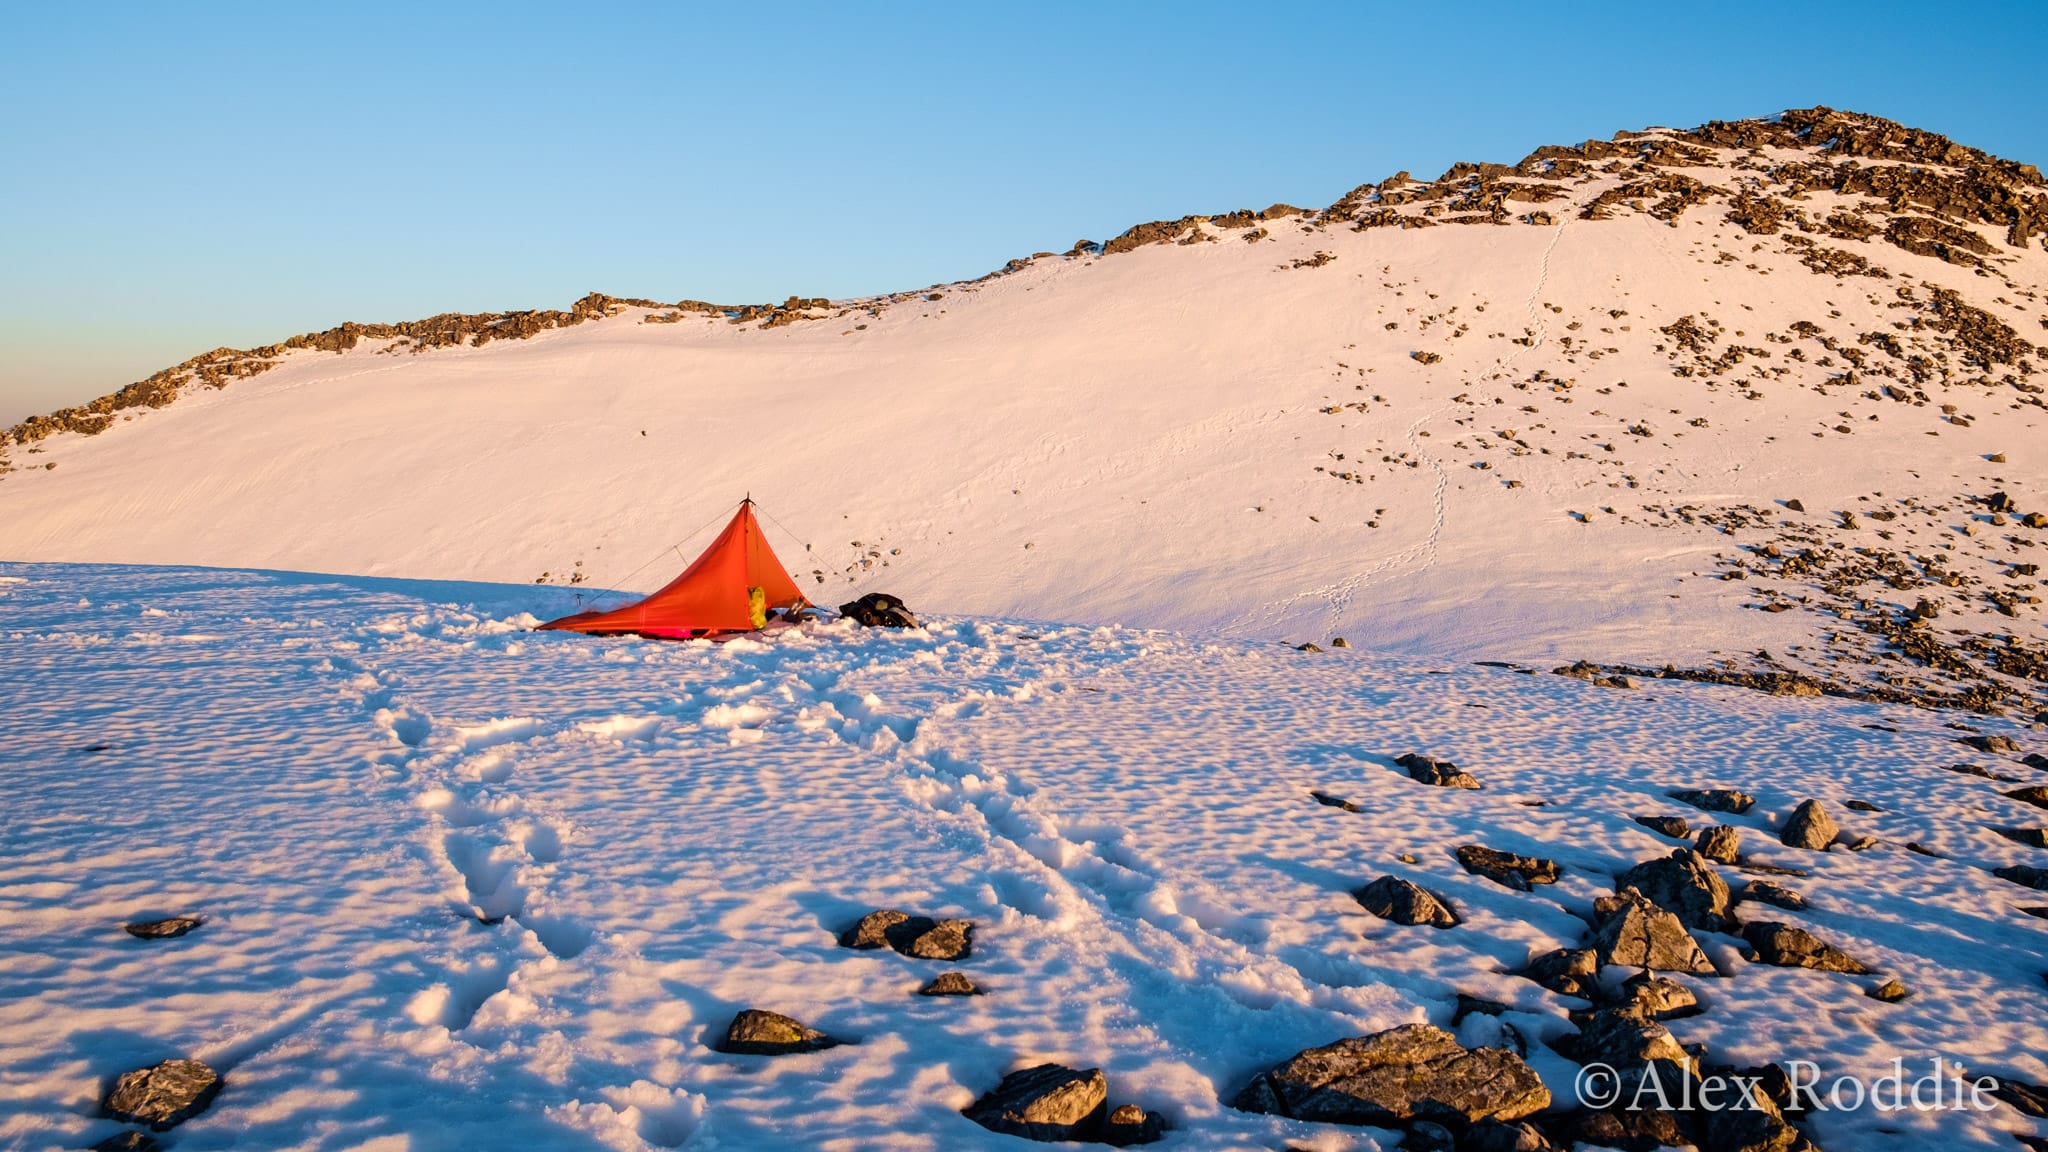
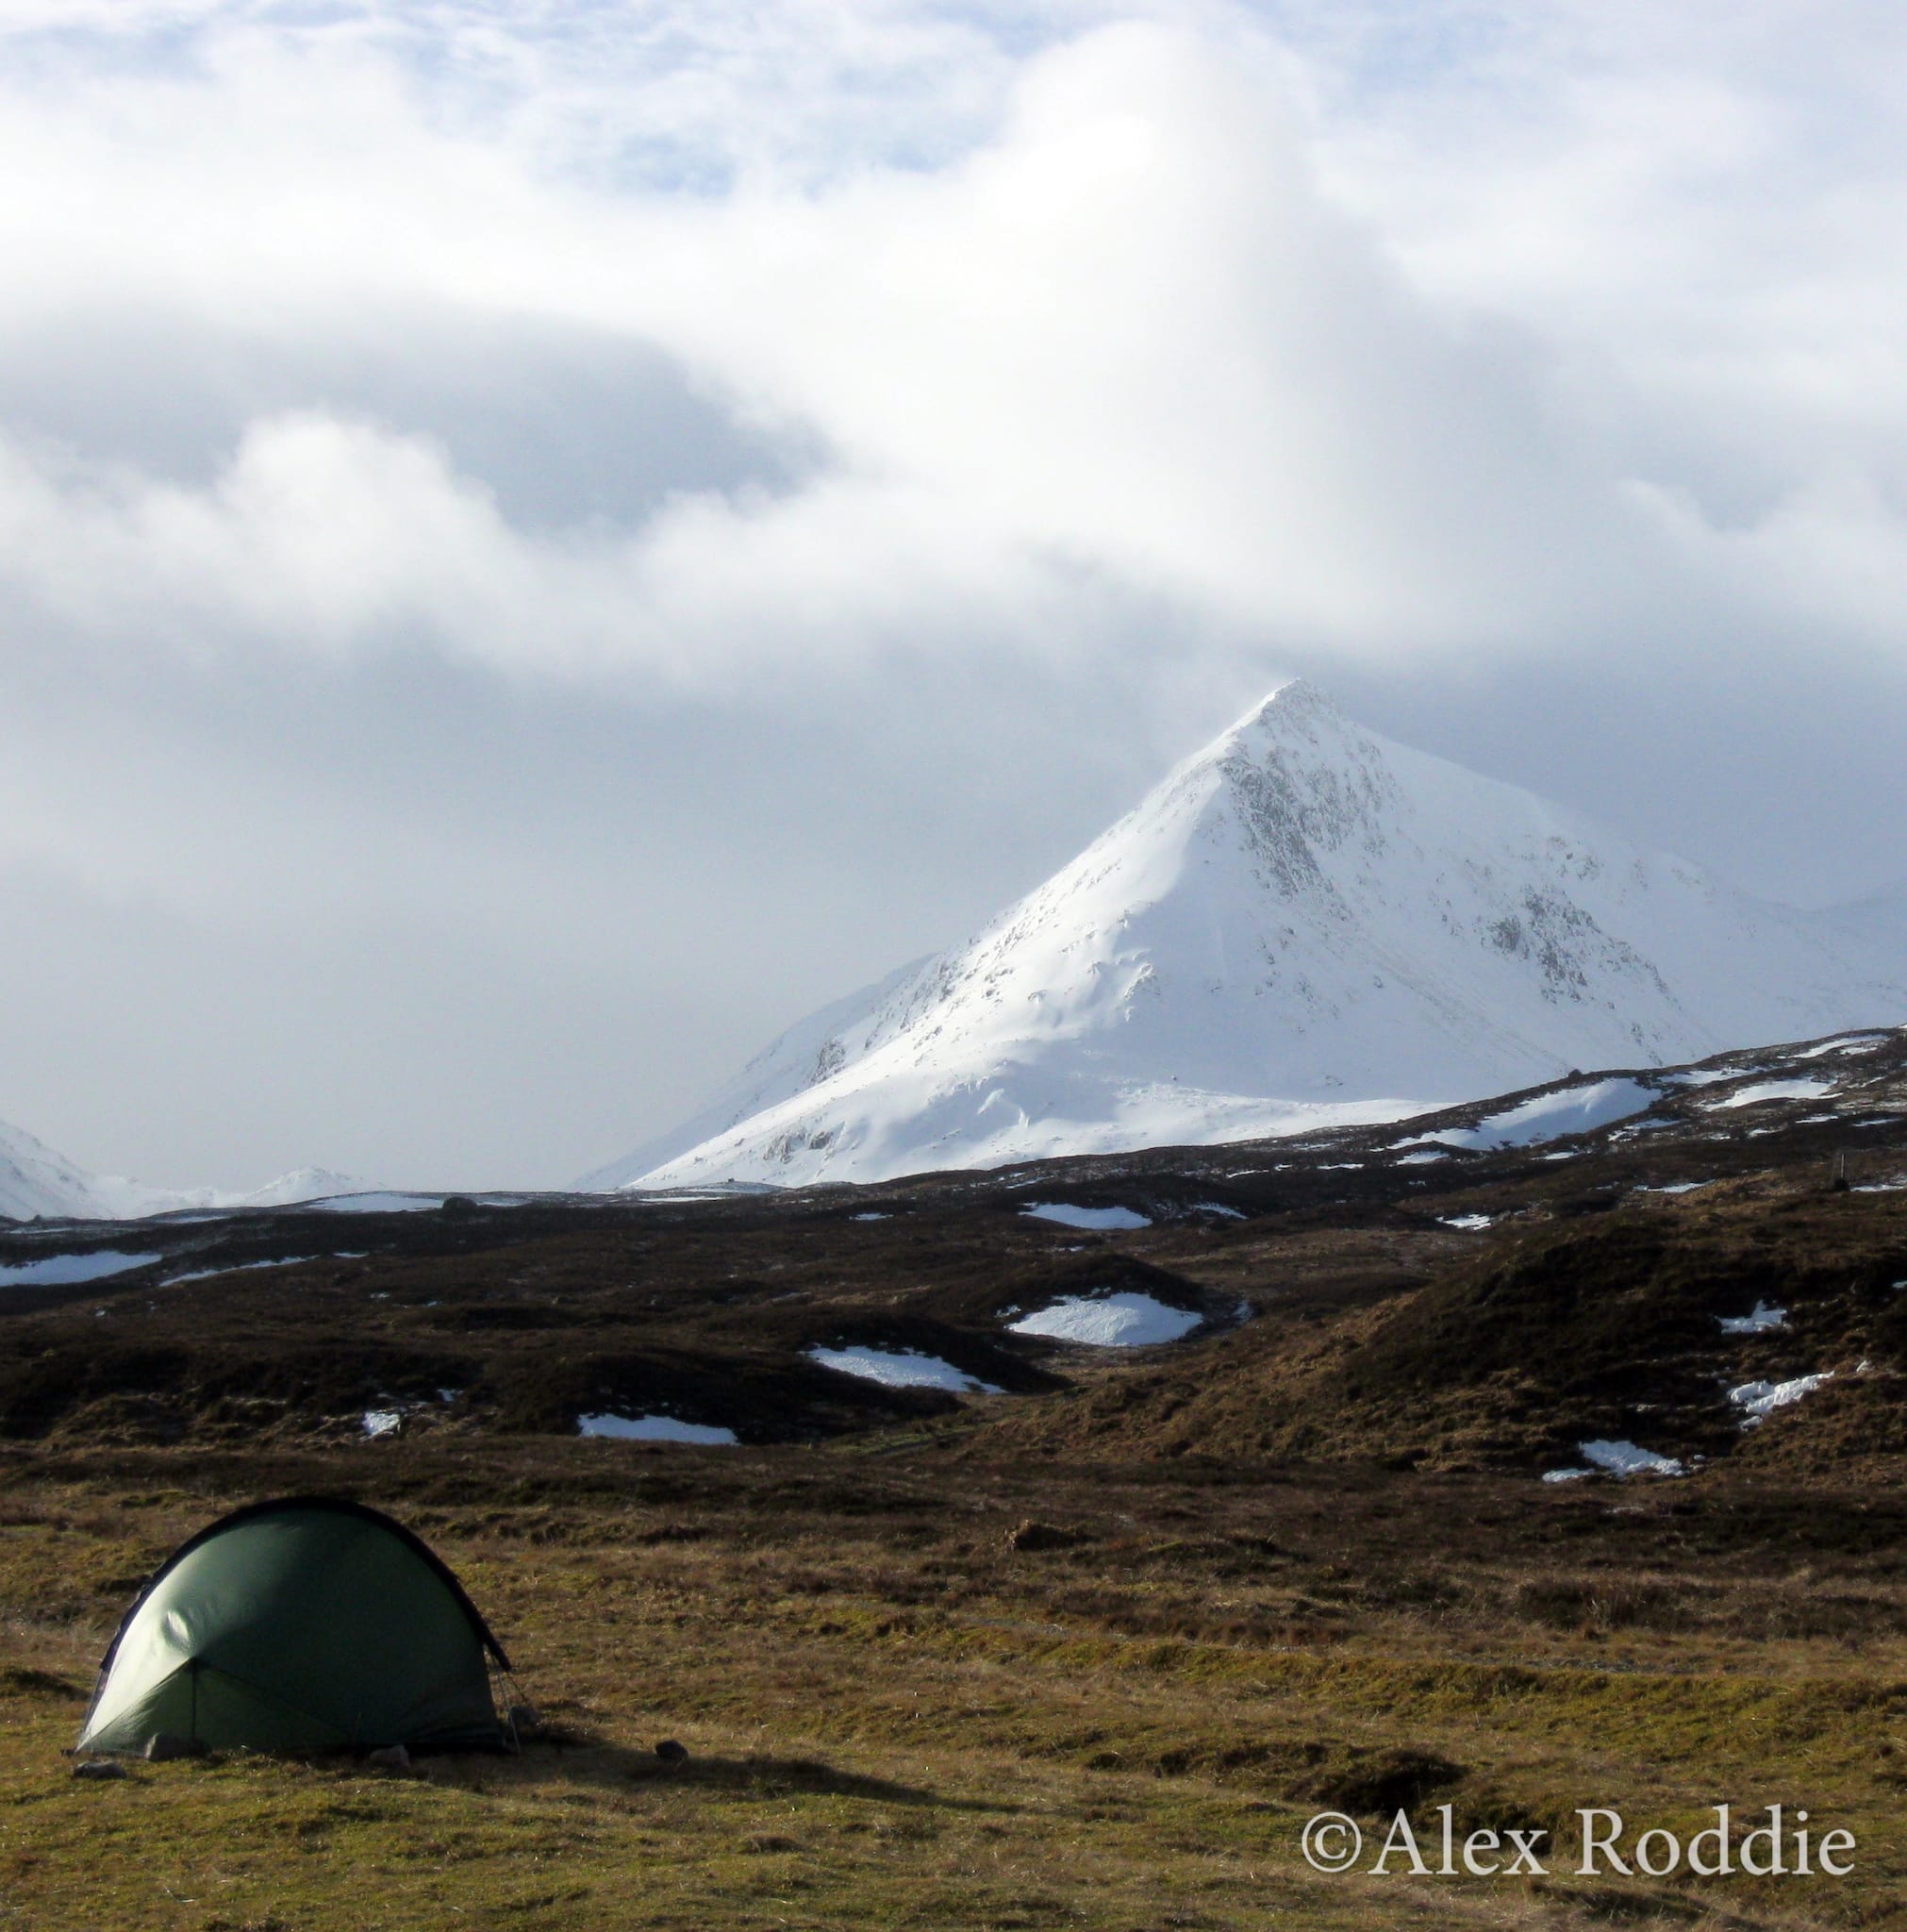
When selecting a tent, wind resistance is the top feature to look for. Lightweight, one-person summer tents can be used, but they are less resistant to high winds and snow loading so you’ll have to be much more careful when selecting a pitch. A good four-season shelter such as the Hilleberg Akto or MLD Duomid is ideal for winter backpacking.
I don’t actually carry a four-season sleeping bag in winter3. I have a quality three-season down bag rated to freezing, which I use in conjunction with a silk sleeping bag liner, doubled up foam sleeping mats, and my clothing system. I’ve found this to be effective down to about -10˚C, but everyone is different in this respect – cold sleepers may well need more insulation. If in doubt, invest in a four-season down bag. You will also need a warmer sleeping mat than you’d use in summer.
Something to keep yourself occupied in the long hours of darkness is a good idea. I prefer an audiobook on my phone, but an MP3 player, Kindle, or paperback book works equally well.
For expert reviews on the latest in outdoor gear, I recommend consulting TGO Magazine.
5. Keep dry and warm
A good set of waterproofs is critical, and the jacket must have a hood you can batten down against the worst of the weather. I’ve found cheap waterproof and breathable overtrousers to be best – winter overtrousers see a lot of abuse, and often get trashed by crampons sooner rather than later, so there’s little point spending too much. Make sure they have full-length side zips so you can pull them on over big boots.
When it comes to warm clothing, everyone is different. My approach involves a synthetic baselayer and thin fleece pullover for active use, plus the warmer kind of softshell trousers beneath my overtrousers. I also carry a synthetic insulated smock or jacket, and this gets put on at every stop. It’s especially useful in camp and as part of my sleep system. I also carry a thin pair of long johns I can wear in my sleeping bag.
For gloves, think lightweight and multiple pairs. Fleece gloves can be layered beneath waterproof overmitts, and softshell gloves are suitable for a wide range of conditions. In the coldest weather Dachstein or fibre pile mitts are still great but they can easily get coated with ice, which can be a pain to deal with on a multi-day trip.
Finally, make sure you carry spares. I don’t take much in the way of spare clothing in summer, but on a recent winter trip I fell up to my waist in a thawing peat bog, and was very glad I had a spare pair of dry socks – not to mention the long johns to put on in the bothy while my trousers dried over the fire!
6. Camping and bothies
Camping in winter can either be a wonderful experience or downright misery, but a little preparation can make all the difference. Choosing the right pitch is the most important factor – in high winds, a col or a summit will be very exposed, and you may find your shelter filling up with blown spindrift. This is also an issue if you pitch too close behind shelter such as a rock or a wall. In foul conditions, it’s often best to err on the safe side – head low and look for somewhere sheltered.
That said, in settled weather a summit camp on snow can be a fine experience. You can get tent pegs specifically for use on snow but I have found that normal pegs can be used if stamped into compacted snow, buried horizontally, or used in pairs. On a cold night condensation will be a problem and it isn’t a good idea to bring wet or iced-up gear into the tent; you’ll wake up to find thick frost on the inner walls. Leave wet things in the vestibule and try to cook outside.
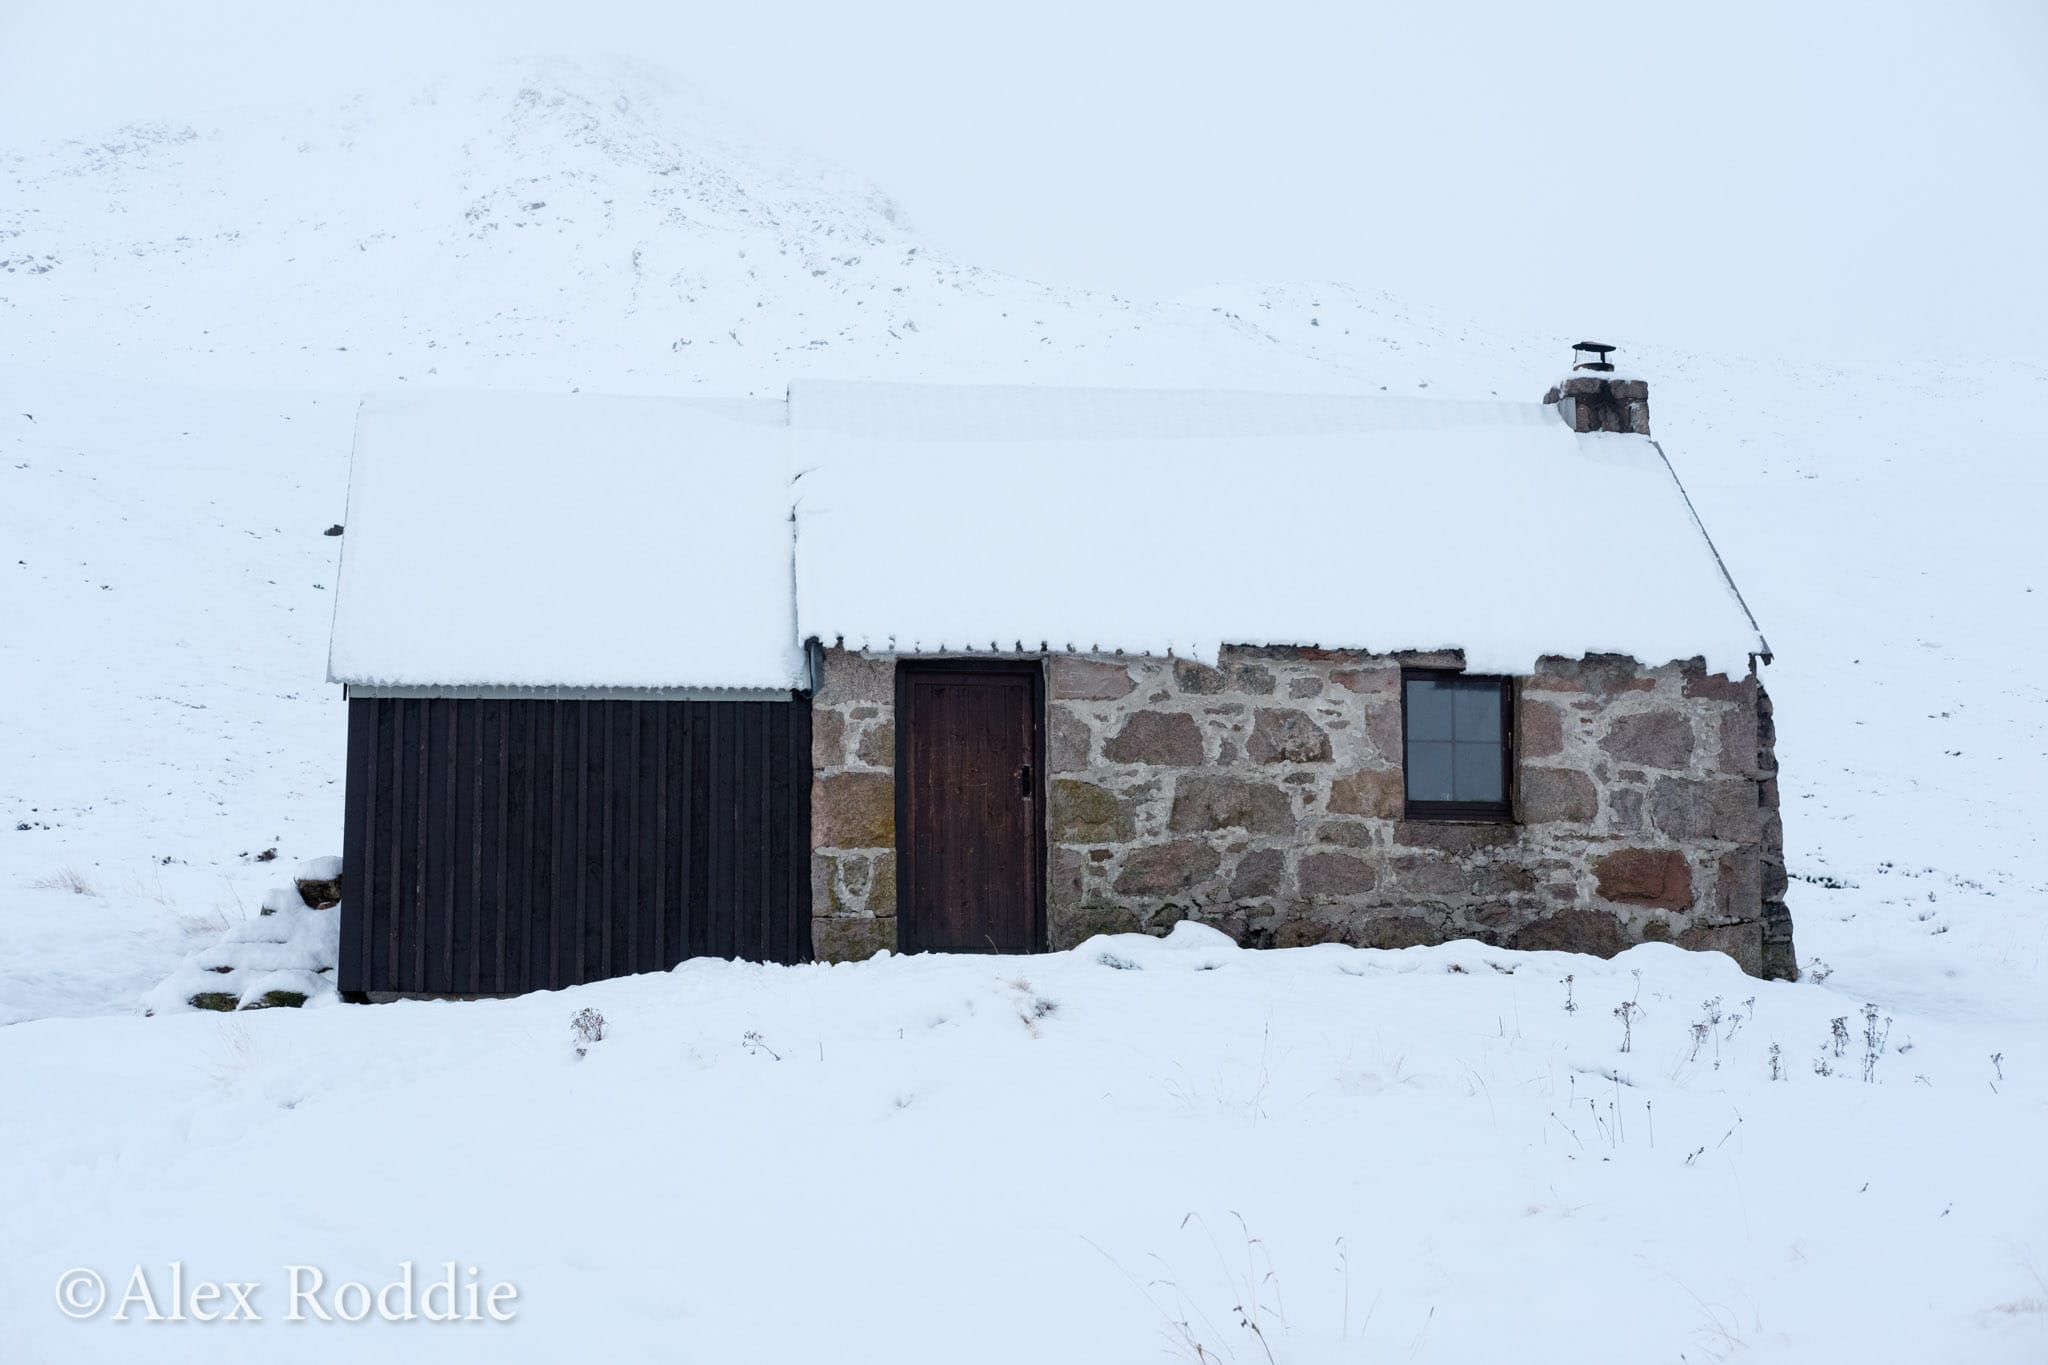
When planning your route, take into account the likelihood of bad weather and the high chance that you’ll want a roof over your head every now and again. In Scotland, bothies provide the perfect opportunity to spend a night indoors with a fire for drying off damp gear.
7. Food and water
It’s colder in winter, and you’re working harder to carry more gear and perhaps wade through deep snow. That means you’re burning more calories.
In winter I choose items dense in calories and resistant to freezing. Mars bars might be useful for an impromptu belay anchor, but having nearly broken a tooth on a frozen one I no longer carry them in winter. Porridge is good for breakfast, and I have yet to find a better food for during the day than malt loaf. In the evening, something hot and filling is best – Pasta ‘n’ Sauce with extra cheese and chopped Peperami works well.
Staying hydrated can be a real challenge in winter. Melting snow is best done on a high-powered gas stove and I have found that two melting sessions, one at breakfast and one before turning in for the night, are usually sufficient. Wide-mouthed plastic bottles are best in winter due to their resistance to freezing. Pour hot water in a bottle, wrap it in a jumper, and it should remain unfrozen for the day.
8. Pack light
You’ll need more gear in winter, but that doesn’t mean you can’t still pack light. The more experienced you are, the more you will learn about yourself and about what you really need. Packing light is all about removing the ‘just in case’ items where it’s safe to do so, and replacing older or heavier items with lighter alternatives.
Do you carry a tent, emergency bivy bag, and bothy bag in winter? You almost certainly don’t need all three. Are you still carrying a metal-framed Bergen? Upgrading to a newer pack will save a surprising amount of weight. But there are certainly some things you should not leave behind in winter: spare headtorch batteries, ample stove fuel, and spare socks!
9. Look after your tech
Most backpackers will carry a headtorch, mobile phone, a camera, and maybe a GPS too. Batteries don’t like freezing temperatures – you might find devices unexpectedly dying on you unless you keep the batteries warm. A useful trick is to keep a spare, fully charged battery in an inner jacket pocket, ready to swap with a cold battery (of course, this only works if the device has a removable battery).
Be wary of sudden changes in temperature that can cause camera lenses to fog or frost up. If you step into a warm environment from the cold, leave your camera in its case until the temperature equalises. UV filter and lens cloth are your friends.
10. Be inspired
Winter backpacking can be tough. It’s hard work, your rucksack weighs a ton, and finding the perfect place to pitch your tent can feel impossible when the wind is gusting and spindrift is hurtling in all directions. But the rewards for backpacking in winter can be very special: that starlit summit camp on snow, the satisfaction of navigating across the Cairngorm plateau in challenging conditions, the skills you can take to bigger and more remote mountain ranges. Backpacking lets you visit places you might never see if you limit yourself to day walks. And if you plan well, take the right gear, and focus on developing your skills, it can be just as safe and enjoyable as backpacking in summer.
- Worth pointing out that I do use trail shoes in winter from time to time, but they aren’t my go-to choice if there’s snow on the ground. I think you need to be very experienced to safely use trail shoes in winter conditions. ↩
- A spare headtorch is also worth considering. In winter I usually carry a Petzl E+Lite in addition to my main torch. ↩
- Since writing this article, I have upgraded to an Enlightened Equipment Revelation 10 down quilt, rated to -12˚C. ↩
Alex Roddie Newsletter
Subscribe here to receive my occasional personal newsletter in your inbox. (For the fun stuff, please consider subscribing to Alpenglow Journal instead!)


