Photographing the ‘super blood moon’ total lunar eclipse
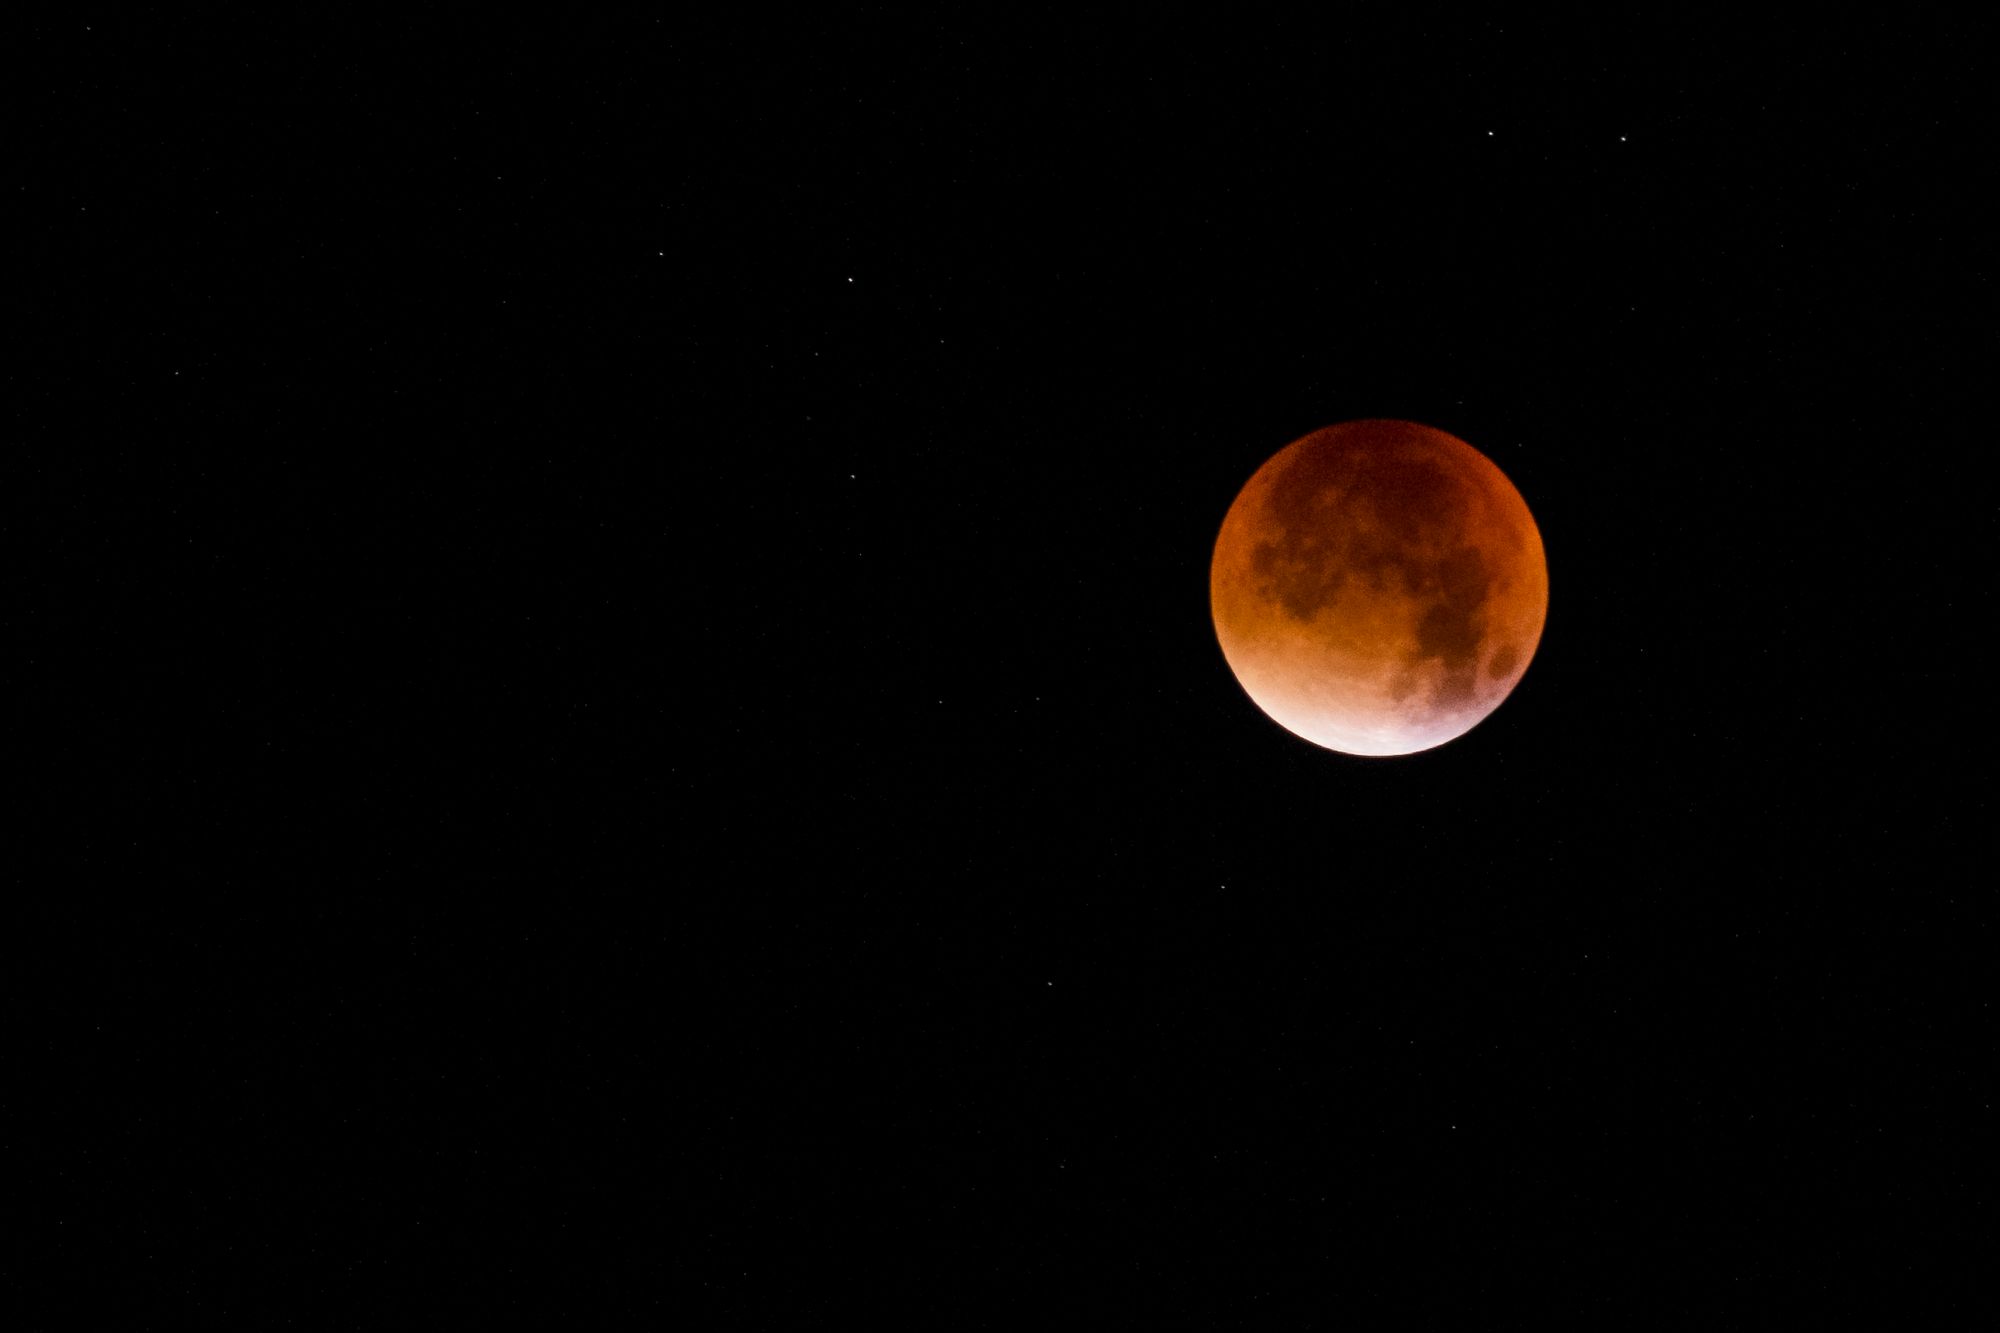
Last night, at just after 02.00 GMT, a rare astronomical phenomenon was visible from around the world. A ‘supermoon’ – that is, a moon that appears unusually large due to its proximity to the Earth – coincided with a total lunar eclipse. I set my alarm and took some photos of this stunning natural wonder.
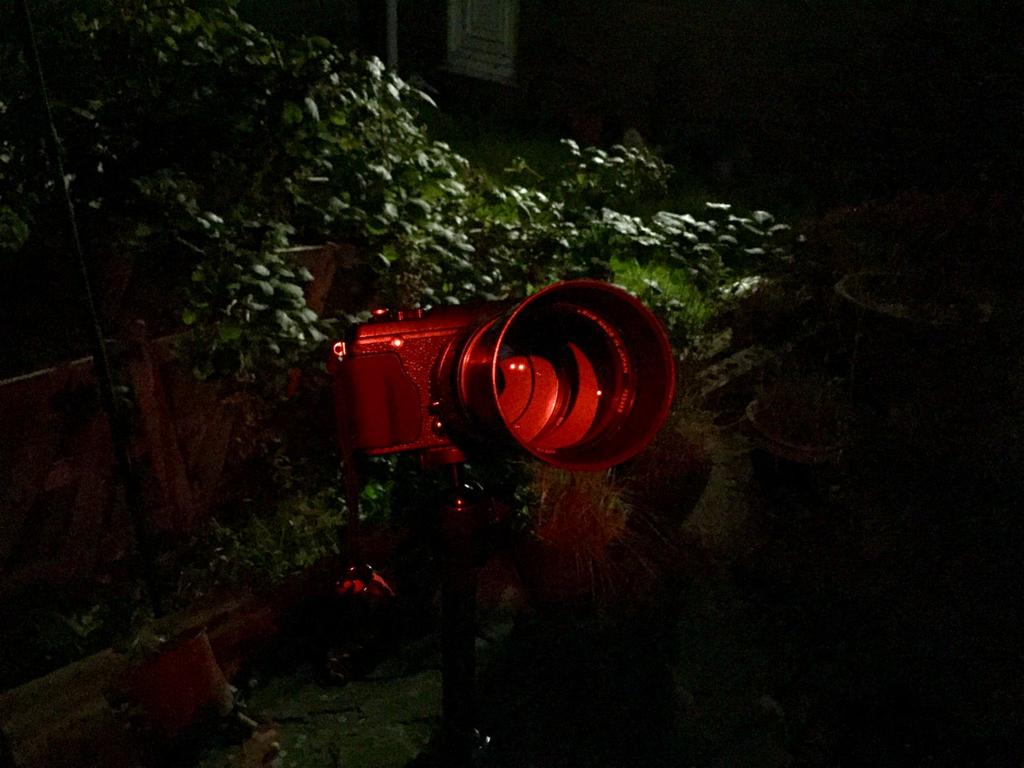
On a clear night, the back garden makes a good place to watch the skies. Before going to bed I had my doubts that it would be clear enough – the ‘supermoon’ was shining down at full power, but a thin layer of mist had started to blow in at low level.
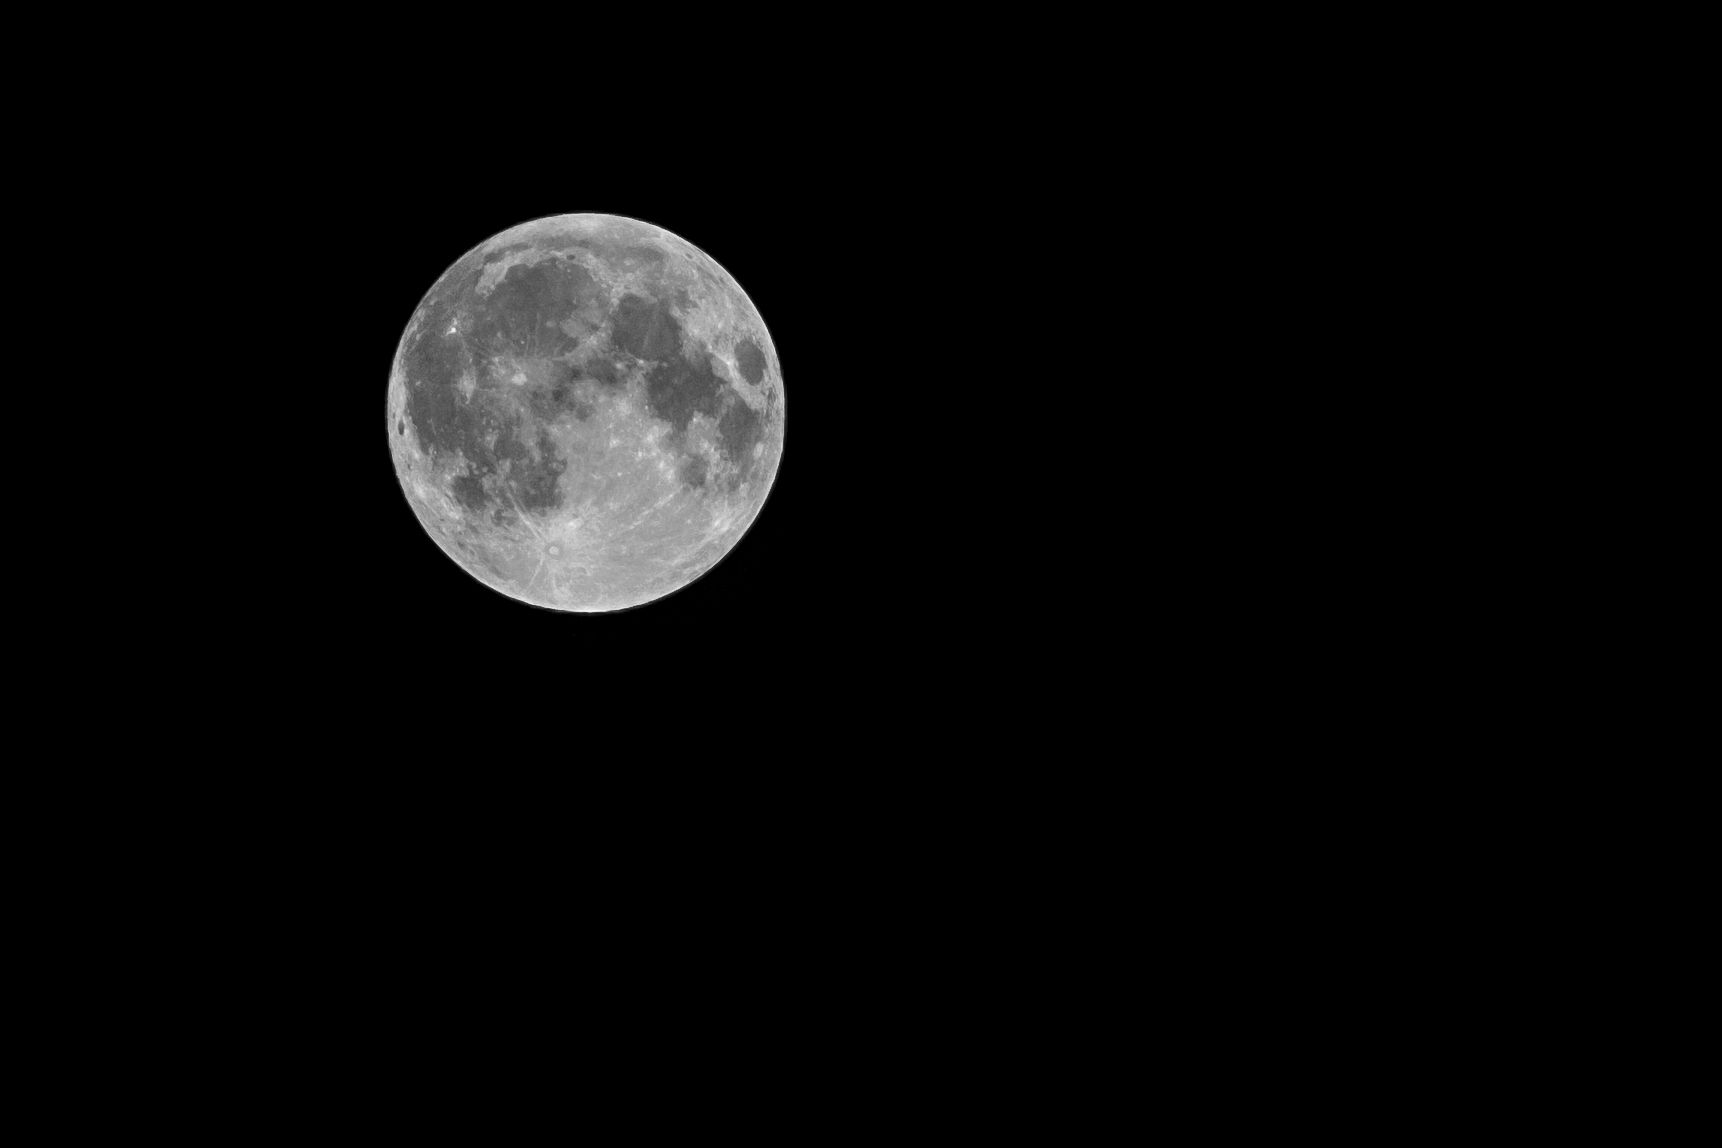
I set up my tripod and camera at about 10.00 p.m. to record my first image of the night, hours before the eclipse was due to start.
Encouraged by this result, I got up full of energy when my alarm sounded, and lugged my gear back out into the garden. It was cold out there but the mist had dispersed and the moon was already putting on quite a show, with only about a quarter still visible at full power. The remainder of the lunar disk was already starting to glow a lurid red.
It was difficult to photograph the moon at this stage, before reaching totality, because the fully illuminated portion was very bright but the rest of it was very dim. An HDR magician might be able to get a decent result but that’s never been a technique that has interested me.
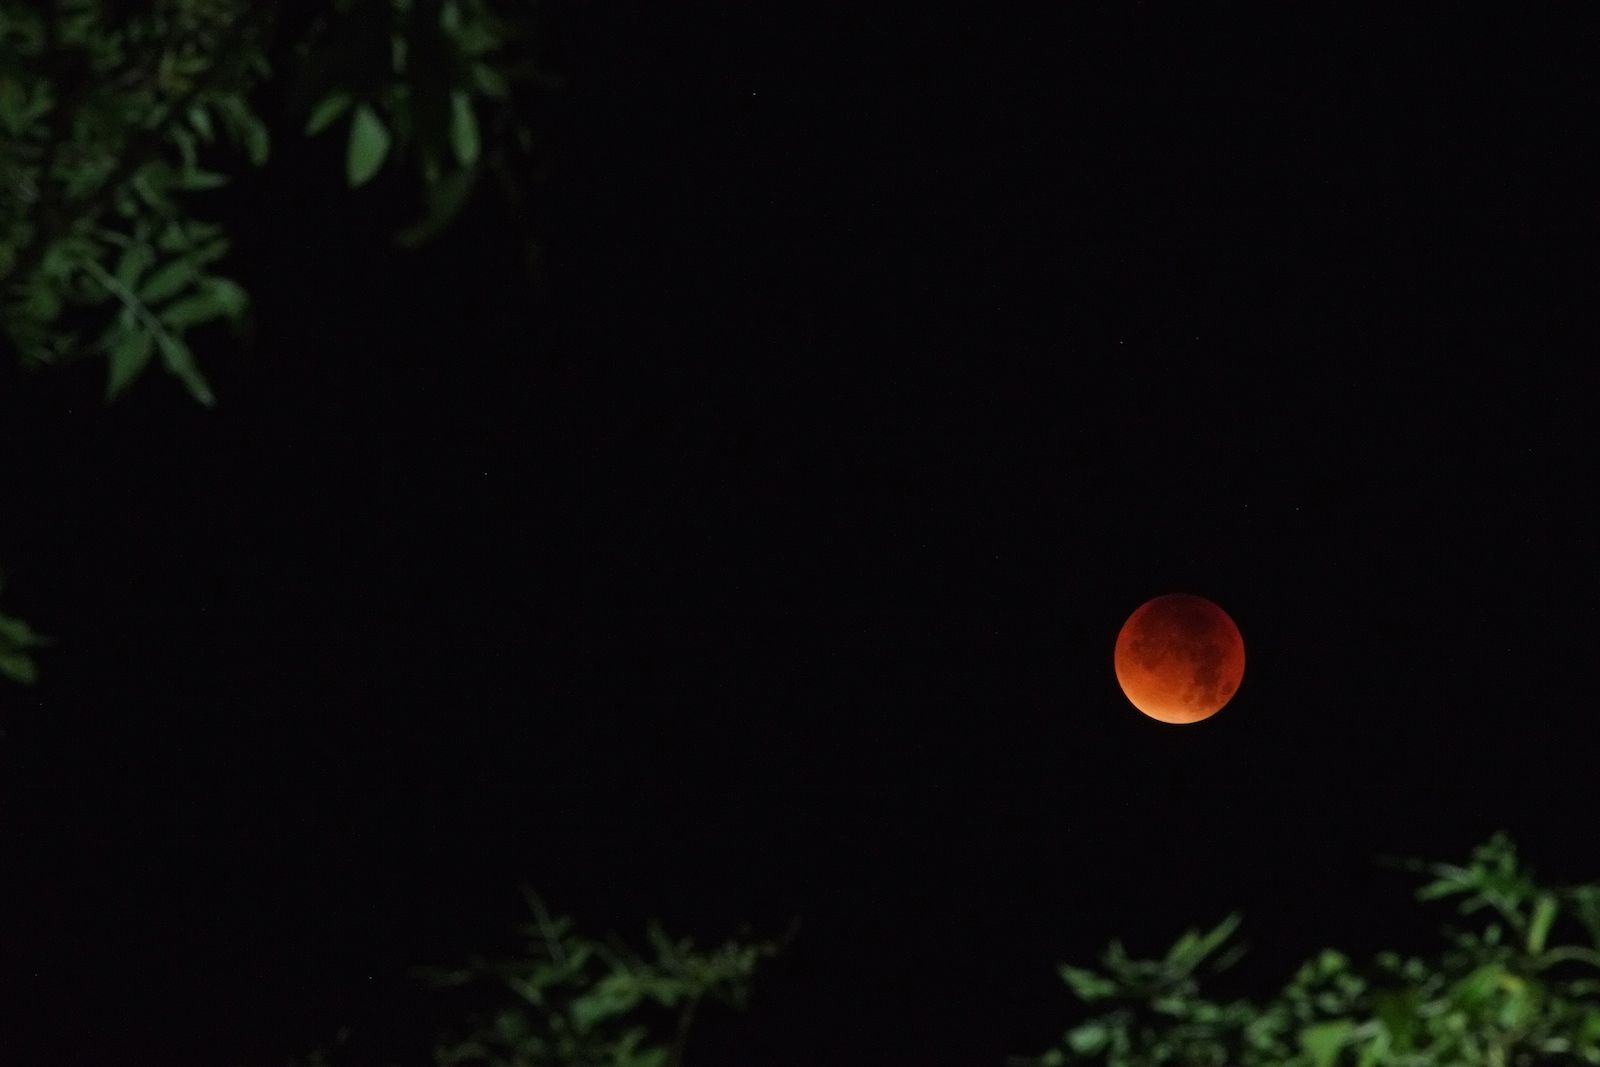
As the eclipse reached totality, the brightness faded and the stars were free to burn forth with astonishing clarity. By this point the moon was so faint that I needed to dial completely different settings into my camera to capture the necessary detail (see the technical section below for more!)
I wanted to get some foreground interest, so composed two different images featuring the branches of a nearby tree. It was difficult to get these shots – it’s surprising how quickly the moon moves when viewed with an equivalent focal length of 300mm.

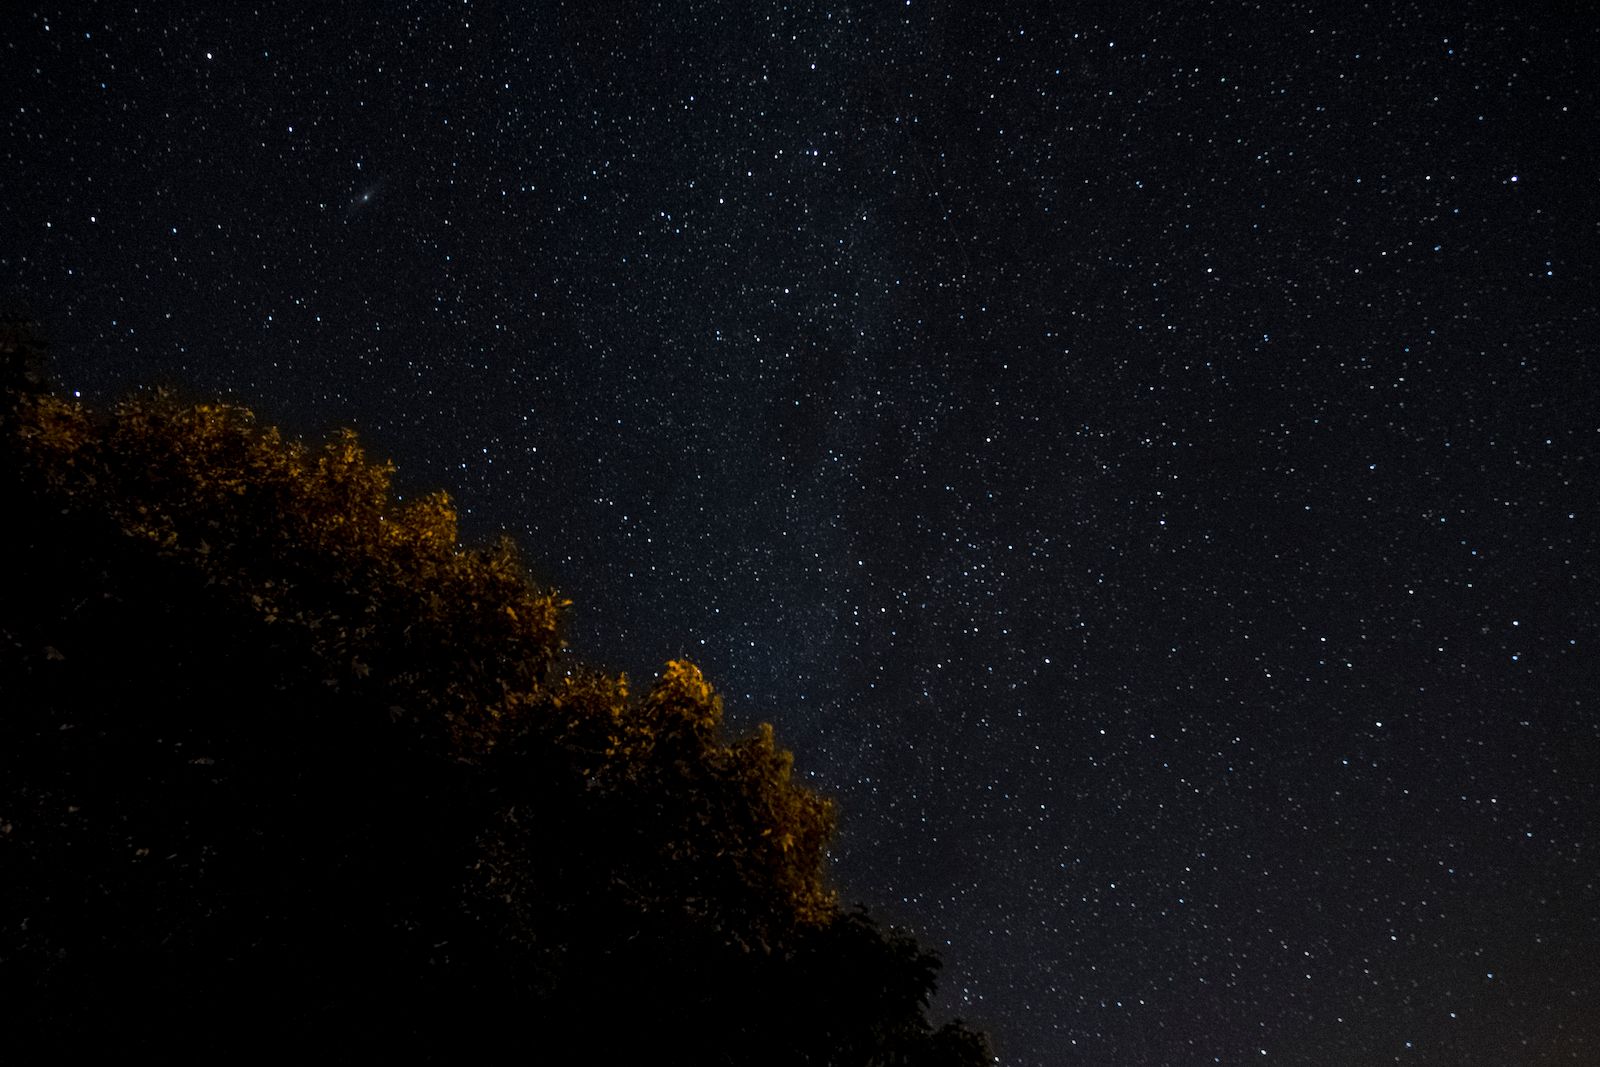
Finally, after the moon had swung behind the tree and I was no longer able to get a good view, I changed lenses and captured this image of the Milky Way. If you click to view at full size you can just about make out a shooting star in the top half, radiating from the Milky Way itself.
I’m really glad I got up to witness this incredible natural phenomenon. It’ll be years before this combination of events happens again. Two of my photos have been published on the Skegness Standard, my local newspaper.
Technical information
To capture images like these, you need four things:
- A camera with excellent high-ISO performance;
- A stable tripod;
- A telephoto lens;
- The knowledge and confidence to operate your camera manually.
I used a Fujifilm X-E1 mirrorless digital camera. This camera has a 16MP APS-C cropped sensor, the same size as the sensor found in most DSLRs, but thanks to Fujifilm’s ‘X-Trans Technology’ it can produce exceptional images even up to ISO 6,400. While there is grain present at the highest ISOs, it has a pleasing structure and has been described as film-like grain. This is the only camera I’ve ever used which has given me the confidence to leave auto-ISO switched on for general photography.
My tripod is nothing particularly fancy – a Hama Compact Traveller tripod – but it’s more than stable enough for astrophotography.
My telephoto lens is a vintage Hoya 200mm f/3.5 manual lens from the 1970s or 1980s. It has a Pentax K mount (my film gear is all Pentax) but has been adapted to work with my Fuji system with a Fotodiox PK-FX mount adapter. Manual focus is easy with the Fujifilm X-E1: the electronic viewfinder enables techniques such as magnified view and focus peaking, enabling even more precise manual focusing than a traditional split-ring focusing screen. And this lens has excellent performance when stopped down. The 1.5x cropped sensor of my camera gives it an equivalent focal length of 300mm in 35mm terms.
For the photo of the Milky Way, I used the Fujinon 18-55mm f/2.8-f/4 XF zoom lens that came with the camera.
Finally, camera settings! The Fuji is a joy to use in manual mode, thanks to its traditional shutter speed dial and sensible controls. For the shots of the moon, I set the lens to f/8 and modified shutter speed and ISO as necessary. The initial photo of the full moon required a shutter speed of 1/500 and an ISO of 200 for maximum sharpness (the full moon is a very bright object). Subsequent photos of the eclipsed moon were taken with much longer shutter speeds – as long as two seconds – and an ISO of 1,600, 3,200 or 6,400. I found that shutter speeds longer than two seconds introduced motion blur thanks to the passage of the moon across the sky.
For the photo of the milky way, I used my zoom lens at its widest focal length (18mm), manually focused to infinity, then set the lens to f/4 and the camera to ISO 3,200. Shutter speed was thirty seconds. I tried to get a shot at f/2.8, which would let in twice as much light, but manual focus with this lens is less easy due to the fact that the focusing ring operates a servo (it isn’t a real mechanical focusing collar) and I found it very difficult to nail infinity focus. An aperture of f/4 gave me slightly more leeway with the focus and this shot ended up being the sharpest image out of several attempts.
Alex Roddie Newsletter
Subscribe here to receive my occasional personal newsletter in your inbox. (For the fun stuff, please consider subscribing to Alpenglow Journal instead!)